


We made Dreamrules to keep what makes Dune compelling: distinct factions, hidden information, negotiation and battles that can turn on one decision. We wanted to address the rules that can leave players waiting for the game to end, and give every faction more meaningful choices.
Our goals are balance between factions, a high skill ceiling and counterplay to every powerful effect. Balance does not mean making factions alike. Each should have a credible route to victory, with strengths worth exploiting and weaknesses opponents can challenge.
A high skill ceiling means there is room to improve through reading the board, managing resources, judging opponents and negotiating well. Counterplay means a strong move should leave opponents some way to respond, whether through cards, positioning, information or a deal.
In GF9, the Guild can win by preventing anyone else from winning before the game ends. That creates an incentive to run out the clock. Too many games drag on as a result, and the waiting makes them less fun.
Dreamrules removes that Guild victory condition. The Guild keeps its shipping economy and gains other tools, including Retreat, but cannot win simply by keeping everyone else from winning. The aim is a game that rewards pursuing a victory rather than prolonging a stalemate.
Dreamrules builds on GF9's Advanced Game. Spice, troop support in battle, hidden battle plans, traitors, alliances and stronghold control remain central. This book is written for new and returning players. Familiarity with GF9 should not be required.
Your Fate is a once-per-game faction power activated by a matching worthless Treachery Card. Fate replaces the old special faction Karama powers.
Nexus checks now use a separate deck after Storm, independent of Shai-Hulud. This gives alliance opportunities their own probability curve as the game progresses. It also lets us tune the number of worm cards to make spice collection dangerous enough and give Fremen more mobility, without changing Nexus frequency.
Spice mines supply spice over several turns. Tech tokens provide income and can contribute to victory. The Shield Wall can also become a stronghold for victory purposes.
Mercenaries adds battle strength, Supplies provides temporary combat cards, and Break Conditioning rewards an overwhelming strength advantage. The card chapter covers the revised deck.
Fremen gain full storm immunity, the Guild can pay to retreat, and Bene Tleilax use lasting Infiltration. Read your faction chapter even if you know its GF9 version.
Start with the overview and setup. The phase chapters follow the order of play. Use the card and faction chapters for exceptions.
2. Why Dreamrules?
4. The game
5. Board, sectors and spice locations
9. Strongholds
10. Setup
12. The turn
13. Storm
14. Nexus
15. Spice Blow
18. CHOAM Charity
19. Bidding
21. Revival
22. Shipment and Movement
29. Battle
40. Spice Collection
41. Mentat
42. Alliances
43. Deals and bribes
46. Tech tokens
48. Victory
49. Weapons, Fate and special cards
52. Karama
59. Truthtrance
62. Illustrated card reference
68. House Atreides
69. House Harkonnen
70. Emperor
71. Spacing Guild
72. Fremen
73. Bene Gesserit
74. Bene Tleilax
76. Ixians
78. Glossary
80. Draft status and council questions
82. Acknowledgements
Each player leads a faction seeking control of Arrakis. Troops occupy territories, leaders command battles and spice pays for the means to expand your position. Treachery Cards can decide a fight before troop strength matters. Information and agreements can be worth as much as either.
Strongholds are the main route to victory. A lone faction normally needs three; two allies normally need four between them, checked during Mentat. Holding territory during the turn is only part of the task: you must still meet the victory condition when the game checks for a winner. Alliances allow two factions to pursue a shared victory. Bene Gesserit prediction, Bene Tleilax infiltration and the Fremen endgame condition can change who wins.
Dreamrules also gives the Shield Wall and tech tokens a role in victory. The victory chapter gives the ordinary count and the v0.8 priority between tech tokens and Shield Wall. The full interaction with Prediction and Infiltration is still tracked in #1847.
Faction advantages change the choices available to each player. Atreides can obtain information before committing to a fight. The Emperor earns spice from other players' card purchases. The Guild earns spice from shipment. Your faction chapter explains when its advantages apply and which benefits an ally can receive.
Territories have names and boundaries. Storm sectors divide the planet radially. A territory can cross more than one sector, so a storm can cover only part of it. Keep troops in the sector they occupy; their position can matter even within one territory.
Sand territories are the open desert where spice appears and worms threaten troops. Strongholds are the principal locations players fight to control. The Polar Sink and the Shield Wall have their own rules. Do not assume every named territory behaves like a stronghold.
Your reserves hold troops available to enter play. The Tleilaxu Tanks hold dead troops and leaders awaiting revival. These are different destinations. For example, the v0.8 spice-mine rule returns troops at a destroyed mine to reserves instead of killing them.
Spice has several uses. It pays for Treachery Cards, shipment and revival, and can support troops committed to battle. Keep available spice separate from bribes waiting for Mentat and token income waiting for the end of its triggering phase. Those later payments are not yet part of your spendable supply.
A battle plan commits troops and usually a leader, with permitted weapons, defenses and other cards. A strong leader can be killed by an undefended weapon or betrayed by a traitor. The battle chapter must therefore resolve cards and special results before comparing final strength.
Arrakis is divided into named territories. The map below highlights one example of each main terrain type. Territory boundaries determine movement; the radial sector lines determine where the storm is and where spice can be collected.
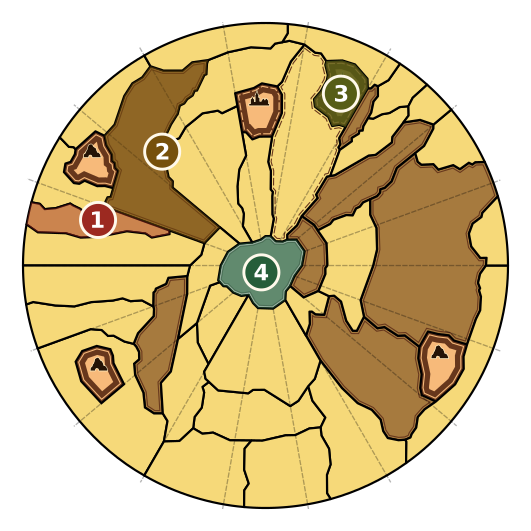
Sand. Open desert where spice can appear. Troops here face the dangers of storm and Shai-Hulud.
Rock. Brown territories shelter ordinary troops from the storm. They are not strongholds.
Stronghold. These enclosed locations are the main objectives of the game. Each ordinary stronghold can hold at most two fighting factions.
Polar Sink. The white territory at the center is safe from storm and worms. No battles occur here and it has no occupancy limit.
Your reserves hold troops available to enter play. The Tleilaxu Tanks hold dead troops and leaders awaiting revival. Keep those groups separate. The Spice Bank supplies spice; it is not any faction's treasury.
A territory is a named area of land. A sector is one of the eighteen slices radiating from the Polar Sink. A territory can cross several sectors; crossing a sector line does not itself mean entering a new territory.
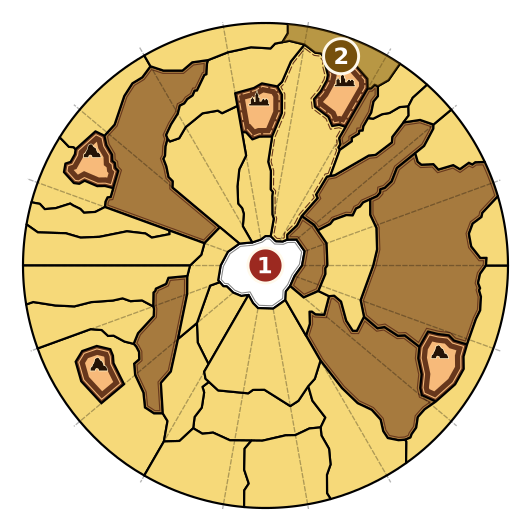
The radial lines divide the storm track into eighteen sectors. Storm movement is counted in sectors, not territories.
Old Gap crosses several sectors. The storm can cover part of the territory and block movement. Dreamrules still allows battles under storm. To collect spice, troops must occupy the sector containing it.
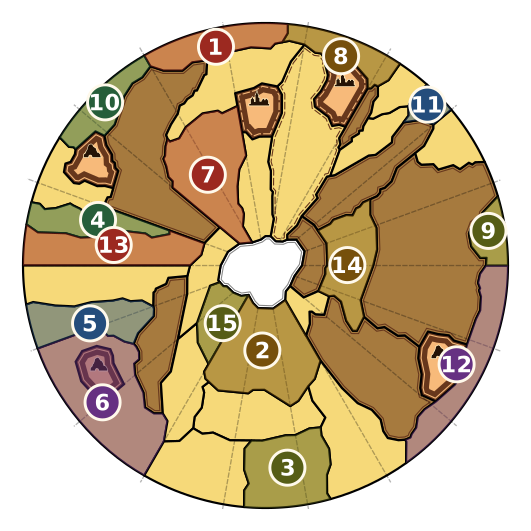
These fifteen territories have ordinary Spice Blow cards. The highlight identifies the territory, not the exact placement spot. When its card appears, use the printed Spice Blow marker and sector on the playing board. The card gives the amount of spice.
Five Spice Mine cards create mines at the sites below. Each mine supplies a set amount of spice per turn without accumulating a larger pile. Storm and Shai-Hulud destroy it; troops there return to reserves instead of the Tanks. Atreides can also create a mine through its Fate.
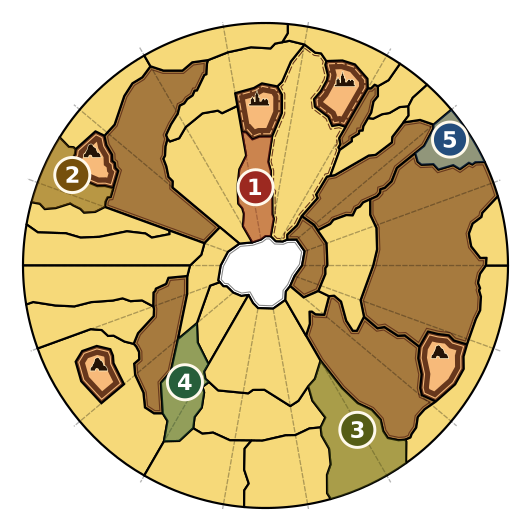
Mine site in the northern basin.
Mine site on the western edge of the map.
Mine site in the southeast.
Mine site west of the southern basin.
Mine site on the northeast edge of the map.
Arrakeen, Carthag, Sietch Tabr, Habbanya Sietch and Tuek's Sietch are the five ordinary strongholds. A lone faction normally needs three at Mentat; two allies normally need four between them. The victory chapter covers faction exceptions and other contributions.
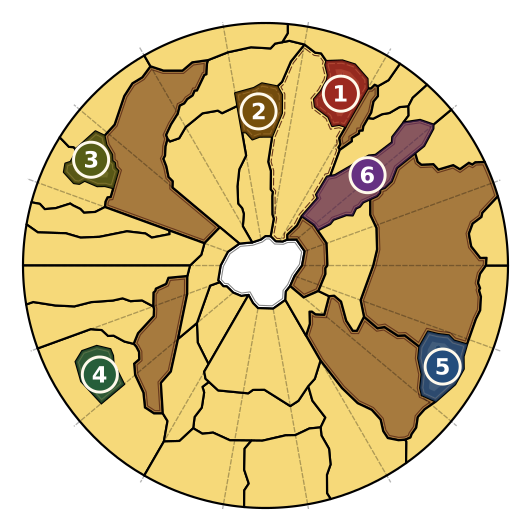
Atreides starts here. Fighting troops give access to ornithopters and collect two spice during Spice Collection.
Harkonnen starts here. Fighting troops give access to ornithopters and collect two spice during Spice Collection.
One of the three territories where Fremen may place its starting troops.
The stronghold on the southwest side of Arrakis.
The Guild starts here. Fighting troops collect one spice during Spice Collection.
After four drawn Shai-Hulud cards, this territory counts as a stronghold for victory only. Its shipment cost and occupancy rules do not change.
Each player selects one faction they want included in the game. This selects the factions at the table, not who will play each one. Randomize the selected factions among the players and randomize their seating positions.
This book covers Atreides, Harkonnen, Emperor, Spacing Guild, Fremen, Bene Gesserit, Bene Tleilax and Ixians. Give each player their faction pieces, shield and faction rules. Leave unused factions out of play.
Put the board in the center and the turn marker on turn one. Place each faction marker at its seat around the storm track. Keep the Spice Bank, Tanks and battle wheels within reach.
Leave space for draw decks and discards. Prepare Treachery, Traitor, Fate Indicator, Nexus and Spice cards. With Fremen, prepare the six Storm cards. Keep the Supplies cache outside the Treachery draw deck.
Use the Dreamrules Treachery deck. Compared with GF9, remove Shield Snooper, Poison Blade, Amal, Thumper, Harvester, Artillery Strike and Poison Tooth. Add two Mercenaries, Supplies, Break Conditioning and Orange Catholic Bible.
The six Fate Indicators correspond to the six worthless cards. Orange Catholic Bible is not a Fate match. The Nexus deck contains one card of each number from one through seven and three blanks.
Set aside the seven standard tech tokens. None starts with a faction. Keep the Atreides Carryall separate for its Fate. Put the Shield Wall markers within reach. Fremen take two Thumpers; Ixians take the Hidden Mobile Surveyor.
Keep available spice behind your shield. Leave space in front for a visible bribe pile and tech tokens. Keep living leaders and reserve troops apart from the Tanks.
Read your faction chapter and explain its public powers, including Fate and alliance abilities. No deals may be made during setup. Ignore abilities of factions that are not playing.
Give each faction its starting spice and troops. The starting amounts and free revival allowance are listed in each faction chapter. Place the Atreides, Harkonnen and Guild starting troops. Keep reserves behind the appropriate player shield.
Bene Gesserit secretly records a predicted faction and turn before Traitor cards are dealt. Do not reveal the prediction.
Deal four Traitor cards to each faction except Bene Tleilax. Normally, choose one enemy leader as your traitor and return the other cards. Harkonnen keeps all four.
If Harkonnen draws two or more of its own leaders, or three or more leaders from one faction, it may require everyone to redraw. If a faction that must choose a traitor receives only its own leaders, reveal the problem and have everyone redraw. You cannot choose your own leader as your traitor.
When Bene Tleilax plays, keep each faction's unchosen cards separate for the Infiltration setup. Do not leave these cards with their original players.
In the v0.8 six-player setup, take one card from each other faction's unchosen traitors. If Harkonnen plays, take its contribution from undealt cards instead. Bene Tleilax chooses one of the five cards as its traitor; the other four are Face Dancer cards. Shuffle the remaining cards into its Face Dancer deck.
Fremen divides ten starting troops between False Wall West, False Wall South and Sietch Tabr. Its other ten troops remain in reserves.
Bene Gesserit places one troop in an unoccupied territory and one in the Polar Sink, leaving eighteen in reserves.
Ixians places the Hidden Mobile Surveyor in a non-stronghold territory, with three Cyborgs and three Suboids aboard. The remaining six Cyborgs and eight Suboids are in reserves.
Give each player one Fate Indicator. Ixians may look at the initial Treachery cards before they are dealt randomly. Each faction starts with one Treachery Card; Harkonnen receives its extra card.
Determine the initial storm position using the procedure on the Storm page. Prepare the Spice draw sequence once the conflicts in #1837 and #1838 are resolved. Setup then ends.
Play each phase in the order shown. Complete it for every faction before beginning the next. The game lasts at most ten turns.
The phase chapters explain what everyone normally does. A faction advantage changes that rule only where its text says so. Read the timing, conditions and alliance permission before using it.
The storm identifies the first player. Continue counterclockwise around the table. Bidding, shipment and movement, and choosing battles use this order unless an ability changes it.
Announce an action early enough for players to respond with any permitted card or advantage. "Before reveal" means before opponents lose the opportunity to react. Do not rush a declaration into the instant of reveal.
Keep cards and battle plans secret except where a rule permits or requires disclosure. During Bidding, announce hand sizes. Players may inspect the Treachery and Spice discards. Only Atreides may keep notes about Treachery Cards; the separate question about recording public deals is #1850.
Spice Collection brings in desert and stronghold income. Mentat collects bribes, provides its faction windows and checks victory. If nobody wins, advance the turn marker and begin Storm again.
Place the storm at a random sector. The standard GF9 method uses the two players whose markers are nearest either side of Storm Start. Each secretly dials a number from zero to twenty. Reveal both numbers, add them and count that many sectors counterclockwise from Storm Start. This is unchanged in Dreamrules.
With Fremen in the game, reveal the prepared Storm card and move the storm counterclockwise by its number. Return the card, shuffle the Storm deck and prepare the next card face down. Fremen may inspect it.
Without Fremen, use the GF9 procedure: the two players who last used the battle wheels each secretly dial one, two or three. Reveal and add the numbers to determine movement.
Resolve Weather Control before Family Atomics. After the distance has been calculated, give players the opportunity to play Atomics, then move the storm. Fremen Planetology can modify the revealed Storm card as described in its faction chapter.
The storm covers the whole radial sector. A territory may have both covered and clear ground.
Troops in exposed sand sectors swept by the storm or under its final position die and go to the Tanks. Spice in swept sectors returns to the bank. The Imperial Basin is protected while the Shield Wall stands. Rock, intact strongholds and the Polar Sink provide shelter.
Fremen troops are immune, although Fremen may choose to let them die. Troops aboard the Hidden Mobile Surveyor are protected. When the storm destroys a spice mine, troops at that mine return to reserves instead of the Tanks. Atomics can remove the usual protection from a sietch.
The player marker the storm next approaches counterclockwise identifies the first player. Continue counterclockwise around the table. The shipment chapter shows how a storm can divide a territory and block a route.
Storm blocks ordinary movement into, out of or through its sector. In Dreamrules it does not itself prohibit battles or other game actions.
The Nexus deck contains ten cards: one each numbered 1 through 7, plus three blanks. After Storm, reveal the top card. A number lower than the current turn number causes a Nexus. An equal or higher number, or a blank, does nothing. Return the card and reshuffle after every draw, whether or not a Nexus occurs.
No card can cause a Nexus on turn one. The chance increases by ten percentage points per turn until turn eight. From then on, all seven numbered cards qualify: a 70% chance each turn.
An alliance has at most two factions. During a Nexus, players may break existing alliances and agree to new ones. Announce the result before continuing. Outside a Nexus, a deal does not create an alliance.
| On turn 3, reveal | Result |
|---|---|
1 or 2 | A Nexus occurs. |
3 through 7 | No Nexus. |
Blank | No Nexus. |
Atreides may inspect the top card through Nexus Prescience. That information can help you plan, but alliances change only if the revealed card causes a Nexus.
Resolve Nexus after Storm and before Spice Blow. A Shai-Hulud appearance does not create another Nexus. This separation lets worm frequency change without also changing alliance frequency.
Spice is the resource you spend on cards, revival, shipment and battle support. This phase places new supplies on Arrakis. Collecting them comes later, after movement and battle.
Identify whether it is an ordinary Spice Blow, a Spice Mine or Shai-Hulud. The following pages explain the different effects.
Use the named territory and its printed Spice Blow symbol. Place the amount shown on the card in that sector, taking spice from the bank. If the symbol is in storm, place none.
Put the territory card in its discard pile. A normal worm threatens the preceding territory for that draw sequence. Keep the sequences distinguishable.
Hagga Basin is highlighted as a location example. Use the printed spice symbol on the playing board for the exact sector.
Fremen may inspect upcoming Spice cards through Spice Blow Knowledge. Atreides instead has Nexus Prescience. Seeing a card early does not change how its effect resolves.
An ordinary worm removes spice and devours exposed troops in its affected territory. Devoured troops go to the Tleilaxu Tanks. A destroyed mine uses the different return-to-reserves rule on the next page.
Shai-Hulud does not devour Fremen troops. Those troops may worm-ride to a territory on the map. The Fremen ally is also protected from being devoured; protection alone does not grant the Fremen riding advantage.
Fremen chooses where worms after the first appear. Its Worm Riding advantage allows those later appearances in rock and strongholds too, so Fremen troops can ride from them. Resolve the destination restrictions of the ability before moving.
Fremen starts with two Thumper tokens. After seeing the Spice Blow cards, it may discard one to call a riding worm to a sand or polar territory containing its troops. At most one Thumper may be used each turn.
A Thumper worm removes spice but does not devour troops. Treat it as the first worm of the phase, so the Worm Riding advantage can redirect worms drawn from cards.
Add one Shield Wall marker for each Shai-Hulud card drawn. Thumpers do not add markers. At four markers the Shield Wall counts toward victory, without becoming an ordinary stronghold for shipping or occupation.
Worms do not trigger a Nexus. Keep alliance changes in the separate Nexus phase. After completing Spice Blow, continue to CHOAM Charity.
A Spice Mine card creates a mine at its named site. Unlike an ordinary pile, the mine provides its fixed yield each turn and remains after collection. It never accumulates more than its set amount.
Arsunt, Bight of the Cliff, Cielago East, Cielago West and Gara Kulon have mine sites. The earlier board reference locates them individually. Use the yield specified for that mine.
Storm and Shai-Hulud destroy mines. Troops at the destroyed mine return to their faction reserves instead of dying. They do not need revival before they can return to the board.
Arrakis Fiefdom can create a three-spice mine in a sand territory without a Spice Blow marker. The Fate also grants Carryall, which triggers when a mine sends troops to reserves. Its token-count interactions remain in #1845.
If you have zero or one spice, announce CHOAM Charity and take enough from the Spice Bank to bring your supply to two. If you already have two or more, the ordinary rule gives you nothing.
| Spice before charity | Take from the bank | Spice afterward |
|---|---|---|
0 | 2 | 2 |
1 | 1 | 2 |
2 or more | 0 | Unchanged |
Bene Gesserit takes two spice regardless of its current total. This is its faction advantage, rather than the ordinary top-up rule.

Keep spice in your bribe pile separate from available spice. It is collected during Mentat and cannot fund ordinary bids before then.

This tech token triggers when a faction other than Bene Gesserit takes CHOAM Charity. A token triggers at most once per turn and pays at the end of its triggering phase.
After charity and the phase's applicable token income, begin Bidding. Use the spice available to you to decide what you can afford, leaving enough for revival, shipment and battle support.
At the start of Bidding, announce how many Treachery Cards you hold. The normal hand limit is four; Harkonnen may hold eight. A faction with a full hand cannot bid.
Deal one card face down for each faction eligible to bid. There are windows for appropriate cards and abilities both before and after the number is determined, before the first auction begins. Orange Catholic Bible can be given to a player with hand space in either window.
The first eligible player in storm order opens the first auction with a bid of at least one spice or a pass. Continue around the table; each bidder raises the current bid or passes. When everyone else passes, the highest bidder pays and takes the card.
For the next card, begin with the next eligible player after the player who opened the previous auction. Recheck hand space as cards are acquired. Keep hand sizes public throughout Bidding.
You cannot bid more than you can pay. An ally may agree to cover a shortfall. The Emperor may cover it with Shaddam's Favor. A promise of support must exist before an otherwise unaffordable bid.
Pay the Emperor when its Bidding Payments advantage applies; otherwise pay the bank. The Emperor pays the bank for its own purchases. Harkonnen receives its extra card after a purchase, subject to its hand limit.
Stop when all offered cards have been sold, or when nobody bids on a card. Return the unsold cards to the top of the Treachery deck. The Emperor collects spice set aside for Shaddam's Favor at the end of Bidding. Revival follows.
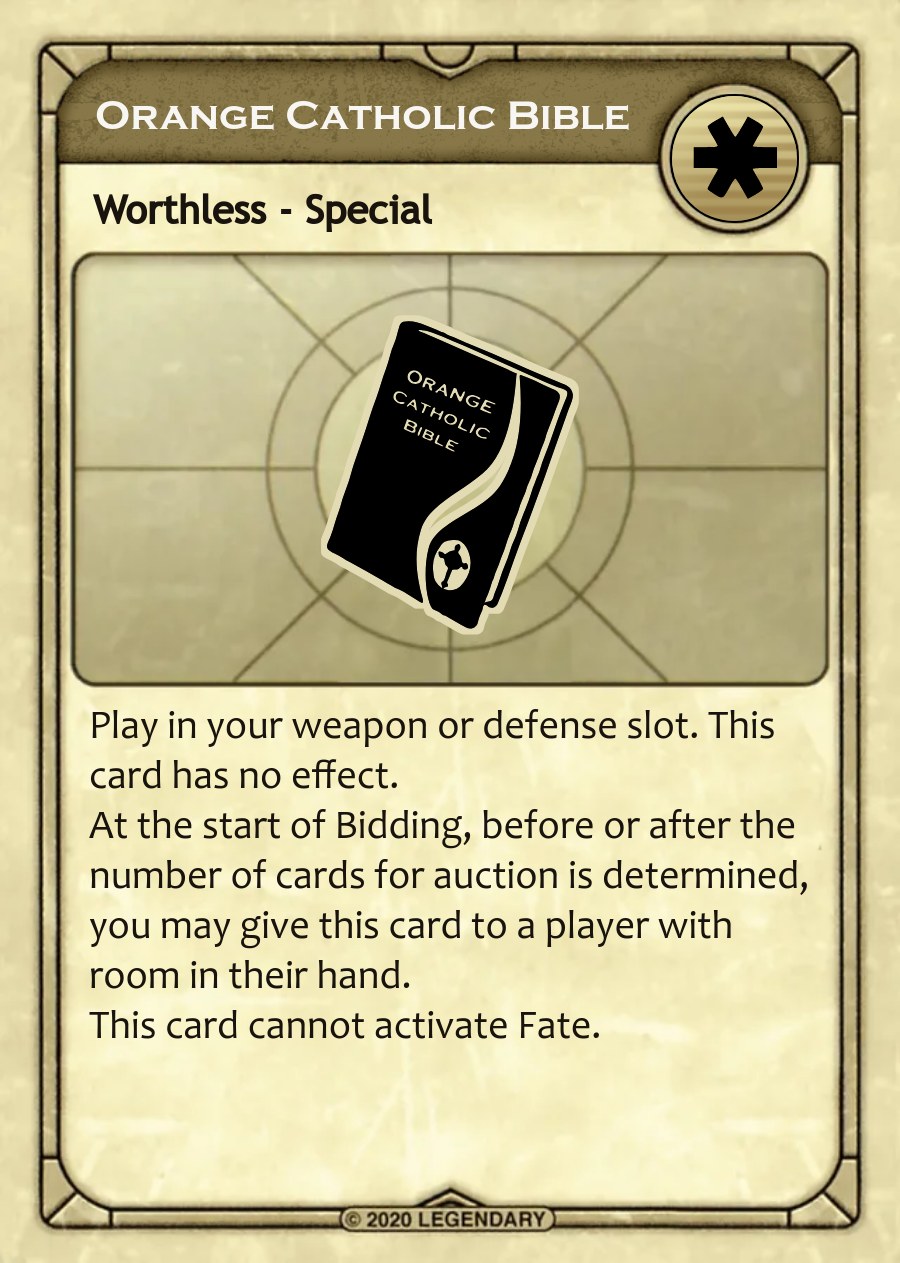
At the start of Bidding, you may give this card to a player with room in their hand. You may do so before or after the number of auction cards is determined.
Atreides and Ixians can inspect cards in different ways. Emperor can help pay. The following page explains these windows and the difference between knowing a card and owning it.
Atreides may look at each card as it comes up for bid. Other players do not automatically see it. Atreides may keep notes about Treachery Cards.
Information about an auction card can itself be traded. Bene Tleilax is allowed to buy binding information about cards up for bid, despite its normal restrictions on deals.
At the beginning of Bidding, Ixians may inspect the whole batch. It may divide the batch into two piles as evenly as possible and choose which pile is auctioned first. This is information about the offered cards, not a right to choose who receives them.
Once per phase, before the first bid on a card, Ixians may replace that card with one from its hand. If Ixians did not split the batch, Atreides cannot inspect the card Ixians takes. If it did split the batch, Atreides may see that card.
Resolve this exchange before bidding on the replacement card. Do not mix it up with the separate once-per-turn card exchange between Ixians and its ally.
When another faction buys a card, the Emperor may put spice in front of its shield to reduce that faction's payment by the same amount. The Emperor collects this set-aside spice at the end of Bidding.
The Emperor can agree to cover a shortfall before a bid. This support is a faction ability and does not require a binding deal with Bene Tleilax.
First determine the cards offered. Then resolve any permitted information and exchange abilities before the first bid on the relevant card. Finally auction and pay for it.
Do not reveal a card to the whole table merely because one faction has permission to inspect it. Hand size is public during Bidding; card identity is not automatically public.
You may normally revive up to three troops per turn. This total includes both free and paid revivals.
Take the free revivals allowed by your faction. Each additional normal troop costs two spice, paid to the Spice Bank. You can only revive troops that are in the Tanks.
Return revived troops to your reserves. They do not go directly onto the board, but may ship during the coming Shipment and Movement phase.
An Ixian Suboid costs one spice to revive; a Cyborg costs three. Only one Sardaukar and one Fedaykin may be revived per turn.
Bene Tleilax may raise a faction's troop revival limit from three to five. They receive one spice from the bank for each non-Tleilaxu troop revived, including free revivals, and collect the payments for other factions' leader revivals. They may set a price to revive one leader per faction per turn.
Bene Tleilax have no revival limits and pay half price, rounded up. Their own face-down leaders cost full price. Their ally shares the discount. Round each leader's cost separately; total the discounted troop cost before rounding. See the faction chapters for other revival abilities and their exceptions.
When you have one or fewer available leaders, you may begin reviving your leaders from the Tanks. You may normally revive one leader per turn, paying spice equal to that leader's strength. Continue until all your leaders have been revived.
A revived leader is available for battle and remains vulnerable to a traitor call. If killed again, place that leader face down in the Tanks. It cannot be revived again until your other revivable leaders have also been revived and killed again.
The leader revival is separate from your troop revival allowance. Faction abilities and cards can provide exceptions to these limits.
Position your troops to collect spice, contest strongholds and prevent rivals from winning. In storm order, each player may make one shipment followed by one on-planet movement. Both are optional. Finish your turn before the next player acts.
Bring any number of troops from reserves to one legal territory and choose their sector. Pay 1 spice per troop to a stronghold, or 2 elsewhere. Pay the Spacing Guild if its Shipping Payments advantage applies; otherwise pay the Spice Bank.
Move some or all troops from one territory to one adjacent territory for free. Move the group together; you cannot split it between destinations. You may move troops just shipped onto the board or a group already there.
Troops in Carthag or Arrakeen when movement begins grant ornithopters: up to three territories. Shipping into either city unlocks this immediately, making them the most important territories for mobility. Choose one move below.
Cross Imperial Basin (1) and the Polar Sink (2) to Cielago North (3). All three may leave Carthag: they were there when movement began.
Leave the new troops in Carthag. Move from Tuek's Sietch (0) through South Mesa (1) and Cielago East (2) to Cielago South (3).
Ordinary troops cannot ship into, enter, leave or cross a sector in storm. Other sectors of that territory remain usable, but troops separated by the storm cannot combine into one moving group. Ornithopters extend your range; they do not let you cross the storm.
A stronghold occupied by two other factions is closed to you: you may neither ship into it nor move into or through it. Bene Gesserit advisors do not count towards this limit. Opposing troops otherwise do not block your passage.
You may ship into your ally's territory, but must immediately move out in that same shipment-and-movement action. You cannot end the action together. The Polar Sink and explicit abilities are exceptions.
Fremen deploy reserves for free onto the Great Flat or one territory within two steps of it. Choose one destination in the coloured zone. This replaces ordinary shipment; other destinations require an ability.
Deploy here, or count outwards from here. The Great Flat itself is not the first step.
Funeral Plain, Plastic Basin, Wind Pass and the Greater Flat.
Bight of the Cliff, Sietch Tabr, Rock Outcroppings, Broken Land, Tsimpo, Hagga Basin, Polar Sink, Wind Pass North, Cielago West, False Wall West and Habbanya Erg.
Once during the phase, the Spacing Guild may change turn order in one of three ways. Its shipment and movement still form one turn.
Go first, last or between two other factions. The other players continue in storm order.
Exchange your position with another faction before your normal place in the order has passed.
Force a player to take their turn now and take their place in the order. Use this before your normal place has passed.
With Zensunni Path, Fremen may allow one faction, including themselves, that did not make its ordinary on-planet movement to move at the end of the phase. Wait until everyone, including the Guild, has finished.
That faction may already have shipped. Passing movement keeps it eligible; making an ordinary movement does not. A Hajr move does not disqualify it.
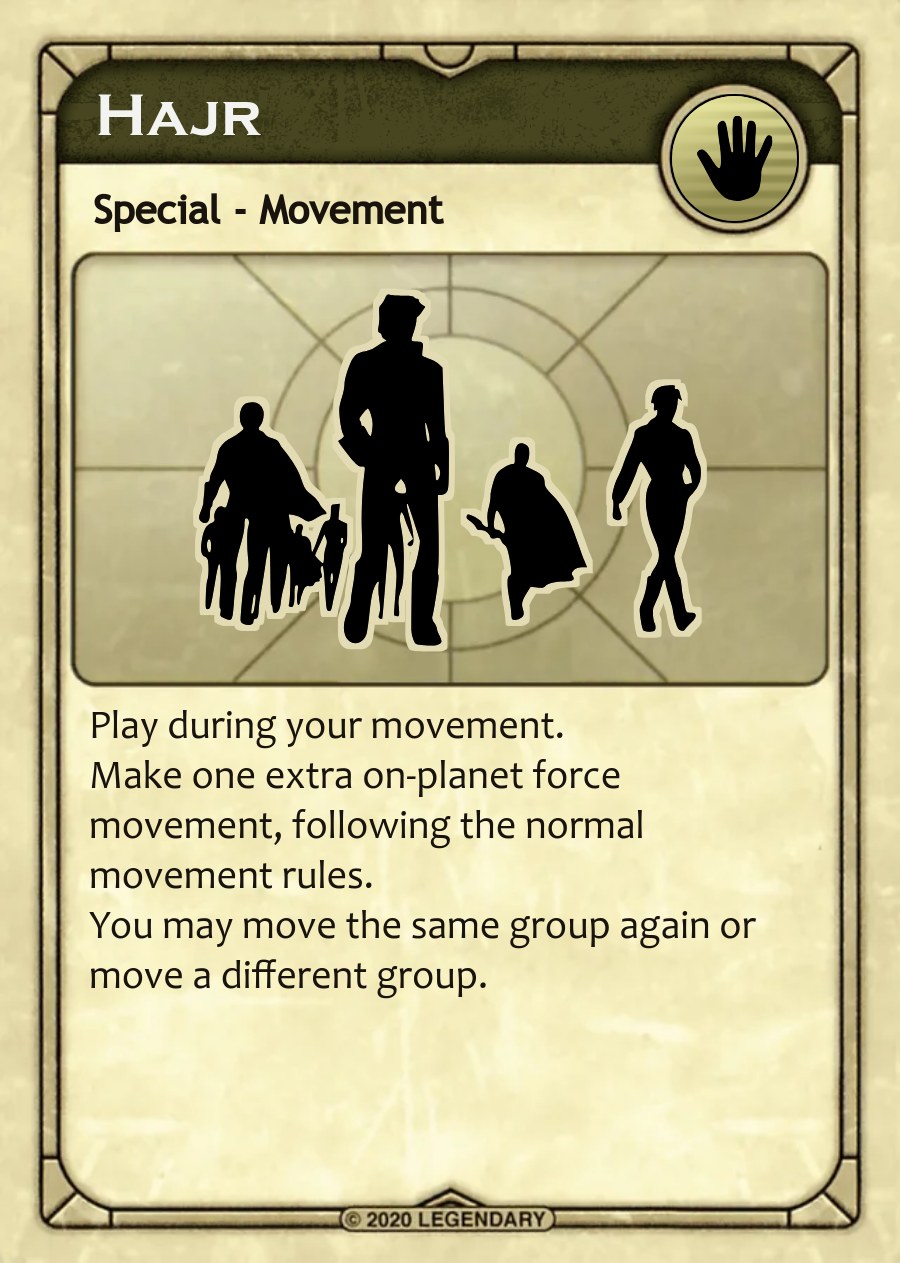
Play Hajr during your own shipment-and-movement turn to make an additional on-planet movement. Follow the normal movement restrictions. This is not another shipment, and it does not disqualify you from Zensunni Path.
Pay half the ordinary shipment cost, rounding the total up. You may ship reserves to a territory, territory to territory at the destination rate, or territory to reserves at the stronghold rate.
Your ordinary movement has a range of two territories. Your troops may enter, leave and cross the storm. Use the deployment-zone map for Rallying Shipment and the timing page for Zensunni Path.
Before the first shipment, choose which advisor groups become fighters; advisors alone in a territory become fighters automatically. Advisors do not block strongholds or grant ornithopters.
When another faction ships from off planet, you may place an advisor at its destination if you have no fighters there, or a fighter in the Polar Sink. Troops joining your existing group adopt its posture.
Cyborgs may move two territories; Suboids may accompany them. Ship to your Hidden Mobile Surveyor at the stronghold rate. Entering or leaving it is movement between territories.
Bene Tleilax may kill troops in reserves to fund shipment, each providing 1 spice through Synthetic Spice.
Battles decide which faction can remain in a contested territory. Use them to take strongholds and prevent other players from winning. A player with troops in three strongholds is contesting a win. If the other players do not prevent it, that player wins in the Mentat phase.
Battles also affect the spice economy. You can deny opponents spice collection, or attack to earn a spice bounty for killing an opposing leader and winning the battle. That bounty can make an attack cost-efficient. Even a defeat can serve your interests if securing victory costs your opponent valuable spice, troops or cards.
There can be only one victor in a battle; the two sides cannot share a victory. In an ordinary battle, the defeated faction loses all its troops in the territory. The victor also pays its battle costs and takes losses, so winning does not guarantee that it will have troops left to hold the territory.
| Part of a battle | What it means |
|---|---|
Battle plan | The choices you prepare for the battle and reveal to your opponent. |
Troop dial | The strength committed by your troops. Spice can support troops to make them count more. |
Leader | A character whose strength can add to your total. A Cheap Hero fills this role with 0 strength. |
Weapons and defenses | Cards that threaten your opponent or protect your own leader. |
Faction advantages | Abilities that affect the choices, information or outcome, at specified times. |
Resolution and settlement | Determine the victor, then settle cards, rewards, payments and losses. |
The following pages explain when battles happen, then troops and leaders in turn. The example between Atreides and Harkonnen brings these parts together: prepare plans, use advantages, reveal, determine the victor and settle the battle.
Battle occurs when opposing factions have troops in the same territory. Troops separated by the storm cannot fight each other. Follow storm order to decide who chooses the first battle.
Read counterclockwise from the storm to the next player marker. Use the player markers, not the troops closest to the storm.
Atreides is first in storm order here and has battles to fight, so it is the aggressor. Skip any player with no battles.
Six Atreides troops and five Harkonnen troops share Hagga Basin. Atreides chooses to fight here first.
Carthag also contains both factions. Atreides chooses to fight there next, then the next player in storm order with battles becomes aggressor.
The number on the battle wheel is the strength your troops contribute, not a count of troop tokens. Add the strength of the troops you choose to commit.
Each ordinary troop contributes ½ strength without spice, or 1 strength when supported with 1 spice. An uncommitted troop contributes 0.
Use only troops in the battle territory and spice you can commit to this battle. Each troop contributes once. You may leave some troops uncommitted; you do not have to dial the highest strength you can afford.
| Ordinary troops | Strength each | Contribution | Support spice |
|---|---|---|---|
2 supported | 1 | 2 | 2 |
2 unsupported | ½ | 1 | 0 |
2 uncommitted | 0 | 0 | 0 |
Total | Dial 3 | 2 spice |
The total is 2 + 1 = 3, so set the wheel to 3 and set aside 2 spice. For a half point, align the mark between whole numbers with the window.
A leader adds the strength printed on its token to your troop dial if it survives the battle. Its strength is separate from the number on your battle wheel. Weapons and defenses determine whether the leader survives; the reveal example shows how.
Your battle plan must include a leader or Cheap Hero if you are able to play one. A Cheap Hero has 0 strength, but still lets you play Treachery Cards.
If you have no leader or Cheap Hero available, you must announce this publicly prior to reveal. When you play neither, you cannot include any Treachery Cards in your battle plan.
Use a leader that is available for this territory. The settlement section explains how fighting in one territory commits a leader for the rest of the phase.

Gurney Halleck
Gurney Halleck has 4 strength.
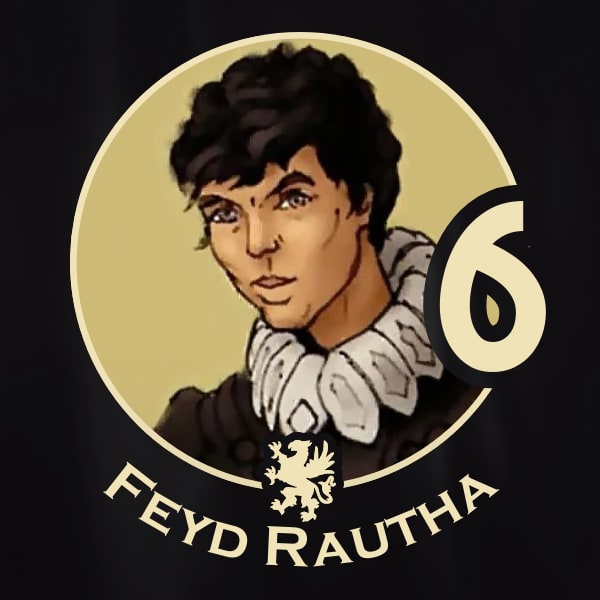
Feyd Rautha
Feyd Rautha has 6 strength.
Throughout these illustrations, the aggressor is on the left and the defender on the right. Here, that is Atreides and Harkonnen.
Resolve Supplies and the last opportunity for an Ixian alliance card exchange before building plans.
Your plan may include up to one weapon, one defense and one Mercenaries card. Each has its own slot, and any slot may be empty. Keep the cards and their number secret until reveal, except for information disclosed by an advantage.
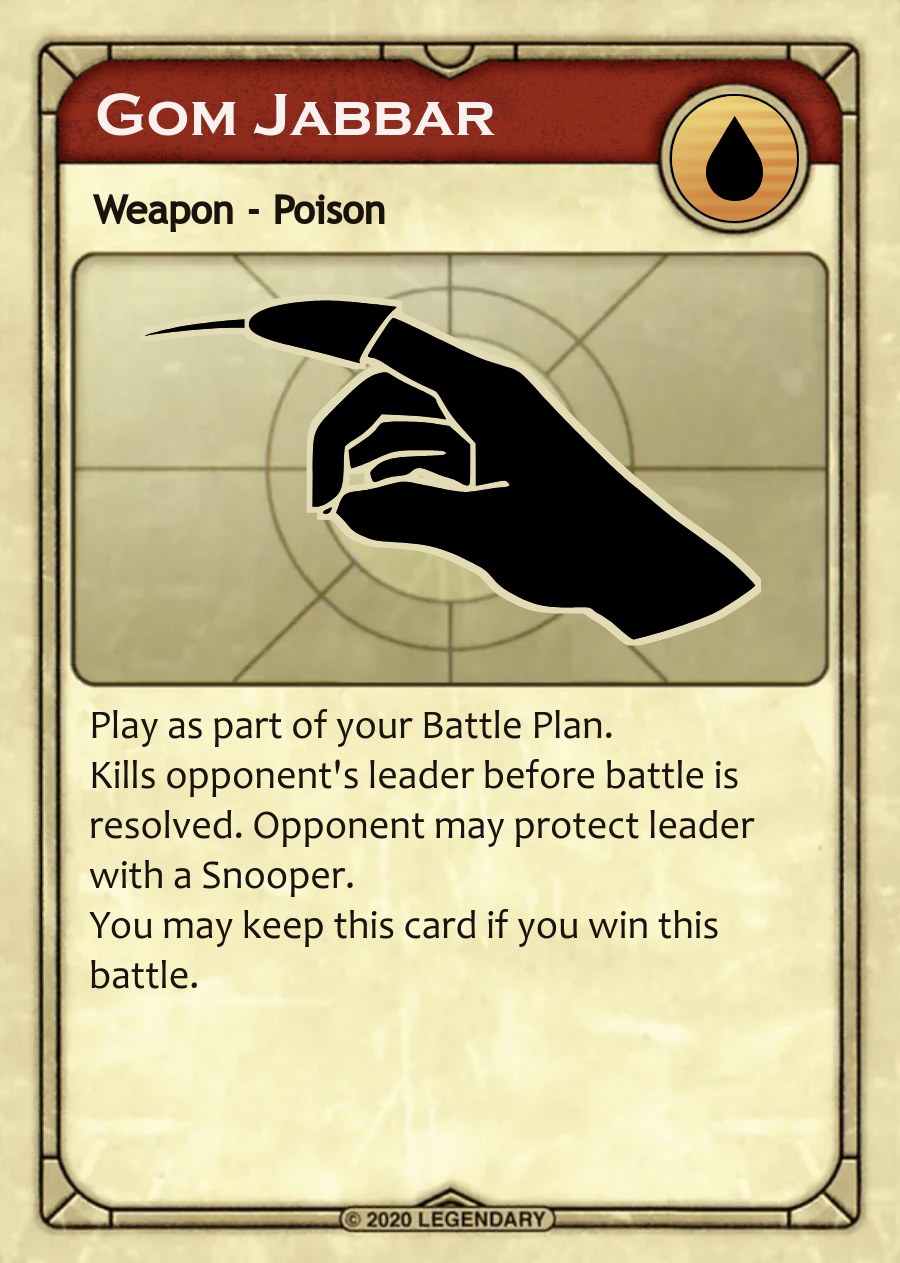
Follow each applicable faction advantage's timing and conditions. The Voice precedes Battle Prescience, followed by Blackmail and Stone Burner. Fanatical Tactics and Infiltration act during commitment. Emperor and Ixian Fates cannot be used during commitment.
After pre-reveal advantages are resolved, finalize your cards, dial your chosen troop strength and set aside the matching support spice.
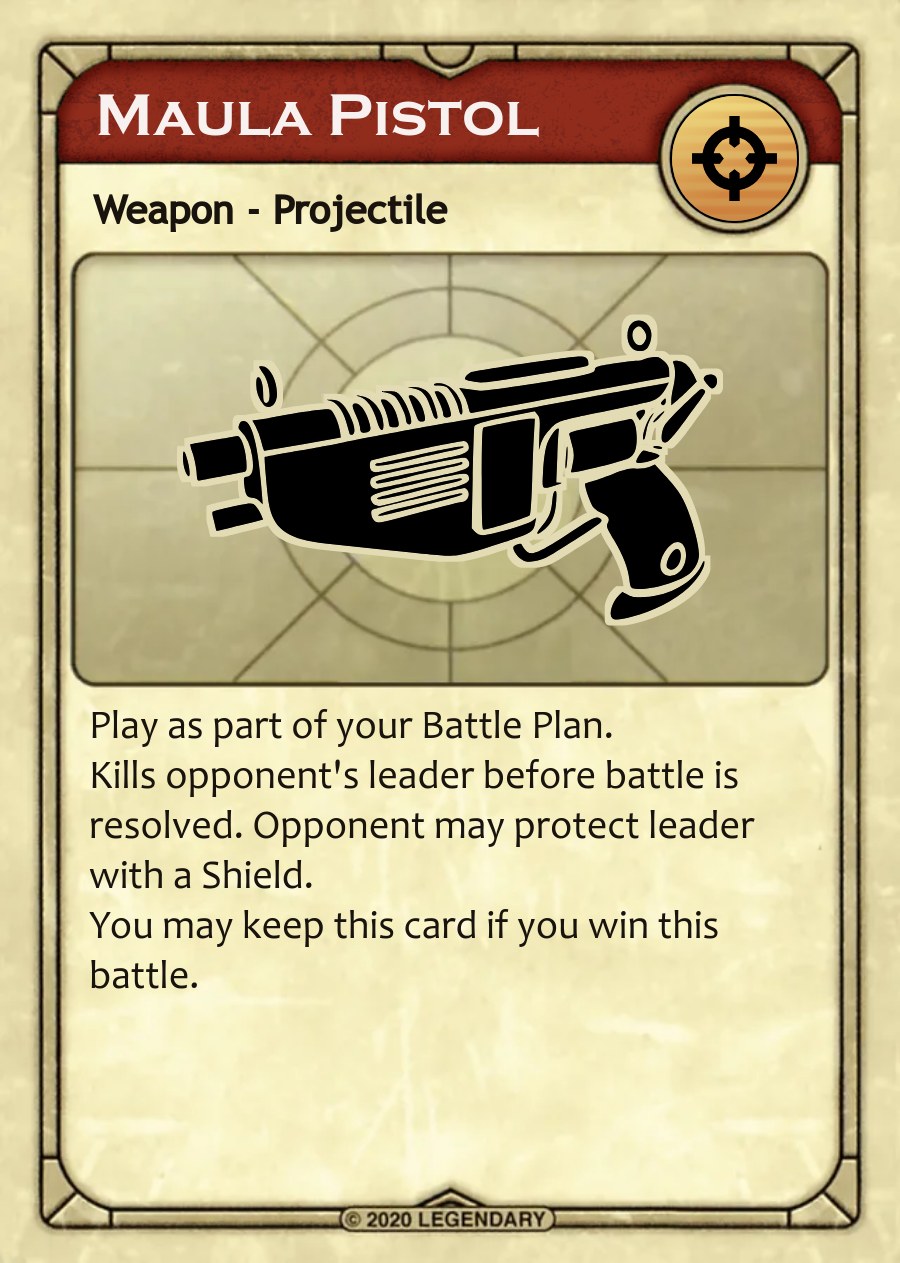
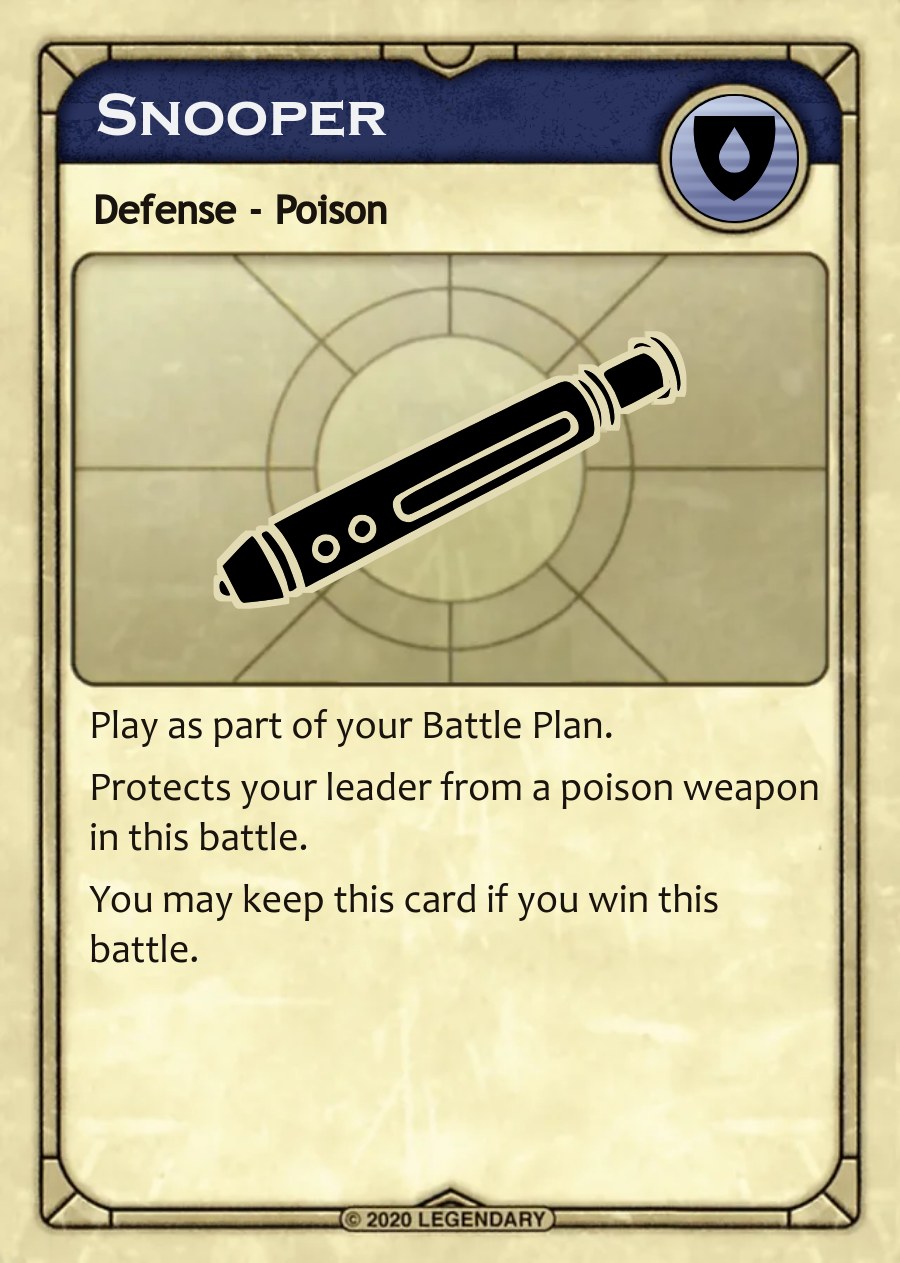
Finish pre-reveal abilities, then reveal both plans simultaneously. An unblocked weapon kills the opposing leader. A killed leader contributes 0 strength; its troops still count. Winning does not itself save your leader.
 ❌
❌Add the troop dial, surviving leader and permitted bonuses. Higher strength wins. The aggressor normally wins ties; Mercenaries can change that. Settle the result before cards and losses.
| Faction | Troop dial | Leader | Total |
|---|---|---|---|
Atreides | 3 | Gurney survives: 4 | 7, wins |
Harkonnen | 4 | Feyd killed: 0 | 4 |
Faction advantages may act after reveal or after the result. Check each ability's timing and conditions before continuing.
The ordinary winner may keep or discard played cards; the loser discards them. The winner collects the killed opposing leader's strength in spice.
Both pay committed spice. The winner loses troops matching its dial and payment; the loser loses all troops in the territory. Resolve any Harkonnen capture, then choose the next battle.
A surviving leader remains committed to that territory for the rest of the Battle phase. It may fight again there, but cannot fight in another territory. A killed leader goes to the Tleilaxu Tanks. If revived with Ghola, it may fight again, including in another territory. Ghola must be played prior to reveal.
The aggressor finishes all of its battles before the next eligible player chooses.
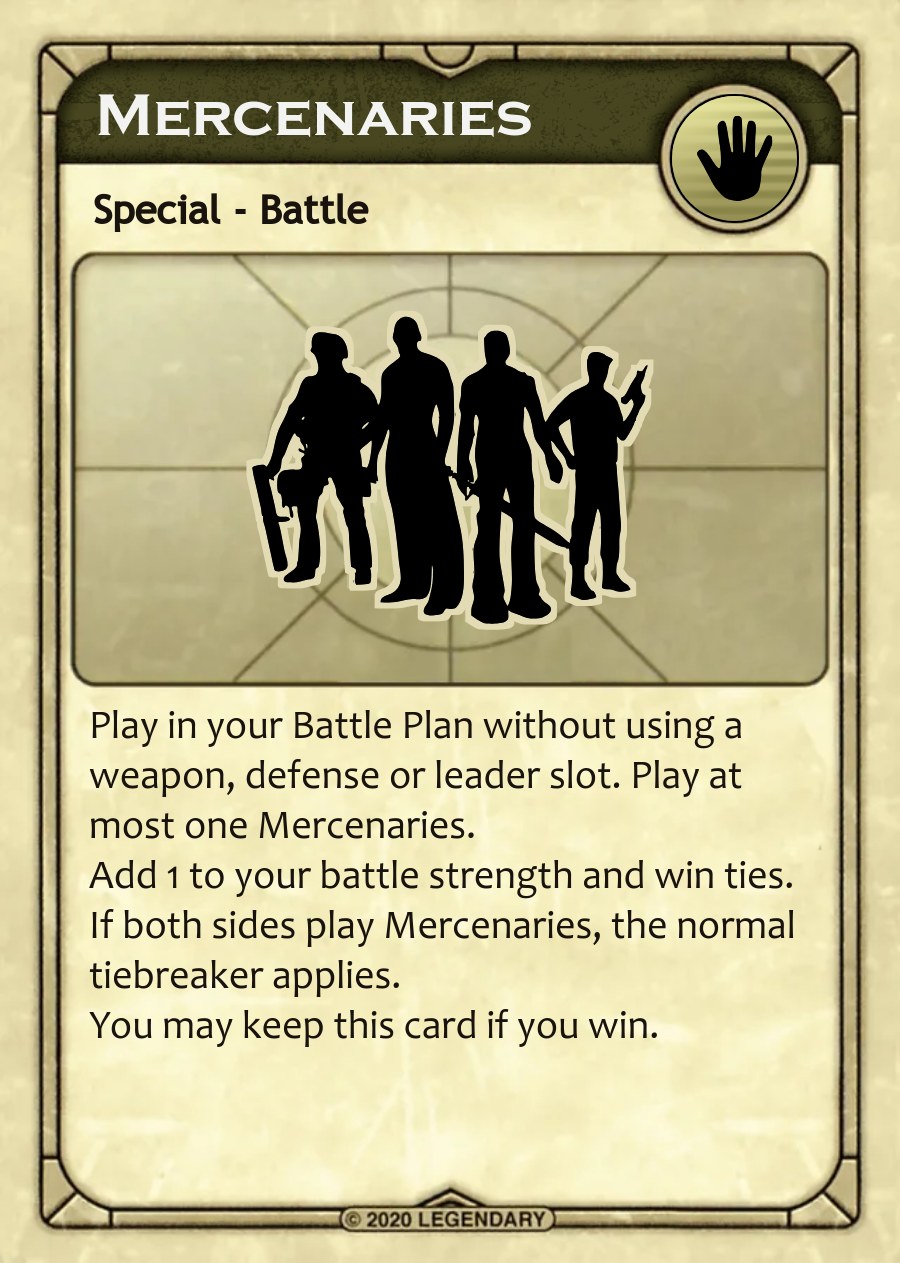
The aggressor wins an ordinary tie. Mercenaries adds 1 strength and wins ties. If both sides play Mercenaries and remain tied, the aggressor wins.
Call traitors after both battle plans are revealed, before resolving weapons or comparing strength. A successful call replaces the ordinary battle result.
If the opposing leader matches your traitor, you may reveal the card and call treachery. A faction may always call its own leader traitor when an opponent uses that leader against it. Harkonnen may call traitor in its ally's battle.
With one successful call, the caller wins without losing troops or committed spice. The opposing leader dies, its owner loses all troops in the territory and discards its played cards. The caller receives the traitorous leader's strength in spice. The winner keeps its played cards and may not discard them. Its leader is not committed by this battle.
❌If both sides successfully call traitor, both sides lose their troops, played cards and leaders. Neither side receives spice.
❌❌Apply these exceptions after learning the ordinary battle. A troop worth 2 strength is still one troop token. Karama can suppress Fedaykin or Free Spice Dialing for the whole phase.
| Troop | Unsupported | With 1 spice | Exception |
|---|---|---|---|
Ordinary | ½ | 1 | Standard support |
Sardaukar | 1 | 2 | Ordinary strength against Fremen |
Fremen ordinary / Fedaykin | 1 / 2 | Not needed | Free Spice Dialing; apply Karama first |
Cyborg | 1 | 2 | Immune to Karama |
Suboid | ½ | Cannot support | May replace a Cyborg loss after winning |
Patched Cyborg | 2 | Not needed | Survives a winning commitment; flips back |
When Ix wins, an uncommitted Suboid may die in place of a committed Cyborg. Flip the saved Cyborg to its patched side. A patched Cyborg can be dialed in a later winning battle without dying, then flips back. These rules do not save troops from an ordinary defeat.





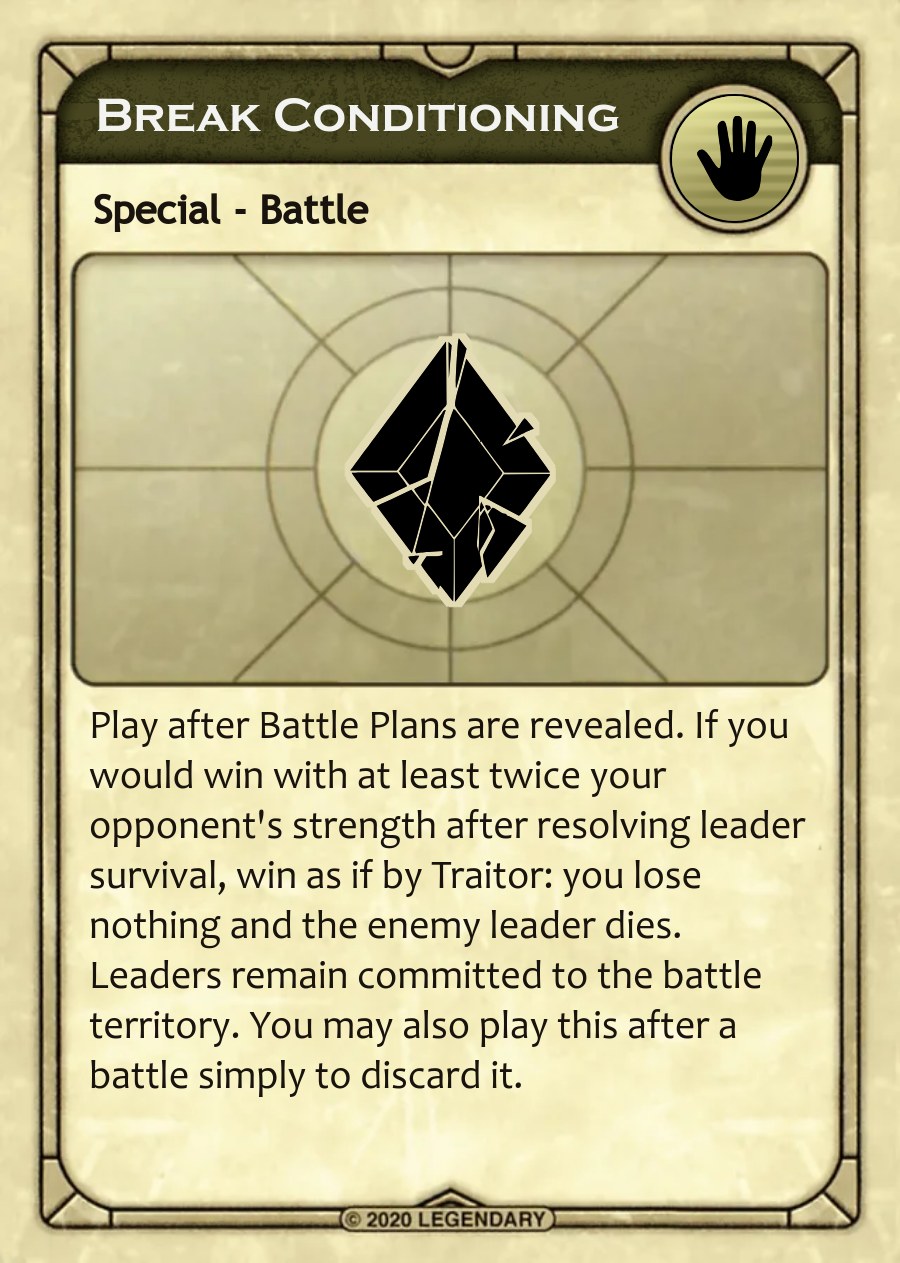
After plans are revealed, determine which leaders would survive the weapons and defenses. If your resulting strength is at least twice your opponent's, Break Conditioning can replace the ordinary result. You win without losses and the opposing leader is killed.
Your leader survives this result even if the weapons would have killed it. Unlike an ordinary traitor victory, v0.8 treats the battle as having happened: leaders are committed and the winner may discard played cards.
The Guild may retreat only in its permitted window. Its troops can return to reserves at stronghold shipping rates. To save a played Treachery Card, pay spice equal to its leader's strength for that card.
Its leader still dies if the weapons and defenses would kill it. Pay committed battle spice and retreat costs to the bank. Both leaders remain committed. A resolved traitor or Break Conditioning result prevents Retreat.
If Zoal survives and the opposing leader dies, Bene Tleilax may activate Zoal. The opponent wins and loses nothing. Bene Tleilax keeps its committed spice, returns its troops to reserves and may keep its played cards. Set Zoal and the target leader aside for Infiltration during the following Storm. See the Bene Tleilax chapter.
Your troops must occupy the sector containing the spice. Each normal troop collects up to two spice. If you occupy Arrakeen or Carthag at collection, that rate is three per normal troop. Take only the spice actually present.
Uncollected ordinary spice stays on the board. A mine stays in place and supplies its fixed yield each turn, without exceeding its cap. Its replenishment window is still tracked in #1859.
| Occupied stronghold | Spice from the bank |
|---|---|
Arrakeen | 2 |
Carthag | 2 |
Tuek's Sietch | 1 |
These payments are separate from desert spice. Occupying more than one of these strongholds earns each payment. You need to be there when collection occurs.
Ixian Cyborgs collect three spice each. Bene Gesserit advisors do not collect spice or provide city access. Before gaining the Kwisatz Haderach, Atreides gains two spice through Leto's Tithe for one stronghold or three for at least two; that income ends permanently when it gains the token.
Collect triggered tech-token income at the end of its phase. Bribes remain outside your supply until Mentat. Do not combine these different payment windows.
Mentat is the turn's final phase. Collect bribes, resolve applicable Mentat abilities and check whether the game has been won. The actions below share this phase; their placement on this page does not introduce a new timing priority.
Move the spice waiting in your bribe pile into your available supply. Factions may give and receive bribes during Mentat, including Bene Tleilax. Before collection, spice in a bribe pile may be passed onward as another bribe, but cannot pay ordinary costs.
Once during Mentat, exchange your Fate Indicator with another faction if neither has used its Fate. Swap indicators, not Treachery Cards. Your new indicator changes which worthless card can activate your unused Fate.
Bene Tleilax may discard face down and redraw one Face Dancer card. It may make a binding commitment to end a particular Face Dancer Infiltration in this window. Follow the faction's leader and replacement-card procedure.
Move the Hidden Mobile Surveyor up to three non-stronghold territories, picking up and dropping off Ixian troops along its route. It carries troops, not spice. Its faction chapter explains the shelter and Shield Wall restriction.
The ordinary threshold is three for a lone faction or four between two allies. Add any applicable token or Shield Wall contribution.
Use the victory chapter for competing claims, Prediction, Infiltration and the Fremen endgame. The marked council cases remain unresolved.
If nobody wins and the game continues, advance the turn marker and return to Storm. At the end of turn ten, apply the endgame condition instead.
An alliance contains at most two factions. Alliances are public, and a faction can belong to only one at a time. During a Nexus, any faction may leave its current alliance and form another. Once that opportunity ends, wait for the next Nexus to change alliances.
The Nexus deck creates these opportunities in Dreamrules. Shai-Hulud does not create an additional alliance window.
A normal alliance needs four strongholds between its members at the victory check. Combine the positions each member controls. See the victory chapter for exceptions.
A temporary deal grants neither alliance powers nor shared strongholds.
Allies do not battle each other. You may ship into a territory containing your ally's troops, but must immediately leave during that same shipment-and-movement action. You cannot finish the action together. The Polar Sink and explicit faction exceptions, including Bene Gesserit advisors, allow coexistence.
If newly allied factions already share a territory, separate them during Shipment and movement. If the first ally to act does not leave, the second must leave or lose its troops there to the Tanks.
Allies cannot make binding deals with each other. Their permitted assistance still applies.
You may discuss plans privately. Allies may show each other cards they have access to, including Treachery, Fate, Storm and Spice cards. They may not show each other Traitor or Prediction cards.
Allies may pay for each other's shipments and bids. A faction cannot make an unaffordable shipment or bid unless its ally has agreed to cover the shortfall. Other transfers or shared powers require a specific faction ability.
Read both faction chapters. Shared Prescience and Shared Voice let an ally bring those powers into a battle. The Guild can extend shipping powers; Bene Tleilax extends its revival discount. Emperor can transfer spice immediately. Ixians can exchange a Treachery Card with its ally.
These are defined permissions, not a general right to use every power printed on an ally's sheet.
Factions that are not allied may make binding deals about legal actions, information and spice. State the terms aloud and agree to them. Once accepted, the deal must be honored. Both parties may agree to amend it.
Name who must do what, when they must do it and what payment is due. A discussion or an offer is not yet an agreement. No deals may be made during setup.
Information, a legal future action or a spice payment can be part of a deal. For example, a player can agree not to bid on one named card, to disclose information they are allowed to disclose, or to make a particular legal move.
A deal cannot authorize an illegal action, give away a faction power, or transfer cards, leaders or troops without a rule that allows that transfer.
Players may discuss plans privately. State publicly the terms that are to be binding; a private discussion is not a substitute for announcing the agreement. You can negotiate about information without revealing that information to everyone.
Restate unusual terms in plain language before accepting. Both players should be able to explain the same actions, payment and timing. If they describe different agreements, settle that difference first.
A clever bargain can reward careful play. Rushing through obscure wording or exploiting a language barrier makes it harder to play the game together.
When you receive a spice bribe before Mentat, keep it outside your hidden supply. Collect the pile during Mentat. Until collection it cannot fund ordinary purchases, shipments or spice dialing.
You may use spice already in your bribe pile to bribe another faction. It moves to that faction's bribe pile and keeps the same delayed availability. Fremen's ally also uses this pile for spice returned through Desert Power.
Allies cannot make binding deals with each other. They may pay for each other's bids and shipments as the alliance rules permit. That payment goes to its normal recipient and is not a bribe waiting for Mentat.
The Emperor's ability to give spice instantly to its ally is a separate faction advantage.
Keep three things distinct: spice you can spend, bribes waiting outside your shield, and income waiting on tech tokens. Receiving spice does not always make it immediately spendable.
Bene Tleilax normally cannot give or receive bribes outside Mentat or make binding deals. Its exceptions include buying binding information about cards up for bid, and promising during Mentat to end a named Face Dancer Infiltration. Read its faction chapter before making a deal.
Tech tokens trigger during their named phase and pay at its end. Keep that pending income separate from a bribe pile, which is collected during Mentat.
Name the move, bid or battle-plan choice being agreed. Check that each promised action is legal and that the players can perform it.
An agreement does not itself award a victory or remove losses. Players still make legal battle plans and resolve the battle. "A thrown fight" should not stand in for terms that the two players understand differently.
Both parties may agree to amend a binding deal. State the revised terms clearly. One player changing their mind is not an amendment.
Avoid binding deals that prevent players from trying to stop an imminent win. The v0.8 guidance treats these as poor sportsmanship. Using a faction advantage to make another player act first is part of play.
Take care when selling information based on memory or notes. Mistakes do not become reliable information because a promise sounds precise.
Seven standard tech tokens begin outside the game. When a faction wins a battle without receiving a token from its opponent, and fewer than three standard tokens are in play, it takes a random token from the unused pool.
A faction that loses a battle with a token gives a token to the winner. Spice already waiting on a stolen token moves with it. The precise treatment of exceptional battle results is part of #1844.
Each token triggers at most once per turn. Its payout is spice equal to the number of tokens its holder possesses. Collect that spice at the end of the triggering phase. Watch the event and the named exception for that token.
Holding all three standard tokens counts as a stronghold for that faction's victory claim, subject to the priority procedure when more than one faction qualifies.
Atreides obtains Carryall through its Fate. It is not drawn from the standard pool and cannot be lost. It triggers when a mine sends troops to reserves. #1845 asks which payout and victory counts include Carryall; do not silently count it as a fourth standard token.
The next page shows all seven standard tokens and the separate Atreides Carryall. Match each token to its trigger, then apply the payout and timing rules on this page.

Triggers when a faction other than the Spacing Guild ships troops.

Triggers when a faction other than Bene Tleilax revives troops.
Triggers when a faction other than Bene Gesserit takes CHOAM Charity.

Triggers when a faction other than the Emperor buys a Treachery Card.

Triggers when any faction collects spice from a sand territory.

Triggers when a bribe is paid between factions other than the token holder.
Triggers when a leader is killed. The printed Fremen exception awaits council verification in #1861.

Atreides gains Carryall through its Fate. It triggers when a mine sends troops to reserves. It stays outside the standard pool and cannot be lost. Token-count questions: #1845.
A lone faction normally wins with three strongholds. An alliance normally wins with four between its two members. You need troops controlling a stronghold at the victory check; visiting it earlier in the turn is not enough. Bene Gesserit advisors do not supply control.
The Hidden Mobile Surveyor is not a stronghold. Arrakeen, Carthag, Sietch Tabr, Habbanya Sietch and Tuek's Sietch are the ordinary strongholds.
Each Shai-Hulud card drawn adds one marker to the Shield Wall. Fremen Thumpers do not add markers. At four markers, the Shield Wall counts as a stronghold for victory only.
Its shipping price and occupation rules otherwise stay unchanged. If the storm divides it and two factions occupy separate parts at Mentat, the troops on the larger part control it for this purpose. Ixians cannot move the Surveyor through it once it has become a victory stronghold.
A faction holding all three standard tech tokens gains one stronghold contribution. This and the Shield Wall can produce overlapping victory claims. Carryall counting is still under review in #1845.
The v0.8 priority rule removes the tech-token contribution first if more than one faction would win. If more than one still qualifies, remove the Shield Wall contribution. Recheck the remaining ordinary strongholds.
The complete interaction with Prediction and Infiltration still needs an agreed procedure. #1847 and #1849 cover those cases, including an alliance with one or both members infiltrated.
Bene Gesserit can replace a predicted faction's win on the predicted turn. Its prediction does not apply to the Fremen special victory.
Bene Tleilax can share an infiltrated faction's win in place of that faction's ally, subject to the five-stronghold exception and the unresolved overlapping cases.
If no faction wins by the end of turn ten, Fremen wins. Its ally shares that win only if their alliance controls at least three strongholds. The Guild has no stallout victory.
Your weapon attacks the opposing leader; your defense protects your own. Match the defense to the weapon. A defense of the wrong type does not help, and both leaders can die in one battle.
| Weapon | Defense | Leader |
|---|---|---|
Projectile | Shield | Protected |
Poison | Snooper | Protected |
Ordinary matches only. Resolve card exceptions using their own rules.
A worthless card may fill either weapon or defense slot without effect. A matching card may instead activate your Fate at its permitted time. Bene Gesserit may use worthless cards as Karamas.
Orange Catholic Bible may fill either slot but cannot activate Fate. At the start of Bidding, you may give it to a player with hand space.
A Cheap Hero replaces a leader and has zero strength. It allows you to play a weapon and defense even when no leader is available. It cannot be called traitor or named by The Voice. Discard it after an ordinary battle. Apply the special traitor-result rule when that result overrides normal card losses.
Lasgun kills the opposing leader without an ordinary defense stopping it. If either battle plan also contains a Shield, the combination causes an explosion. A Shield in your own plan is just as dangerous as an opposing Shield.
Do not resolve the explosion before a successful traitor call that overrides it. See Special battle results.
Without another weapon in your plan, Weirding Way acts as a projectile weapon. With another weapon, it acts as projectile defense. It does not stop a Lasgun and does not cause a Lasgun-Shield explosion. The Voice must name Weirding Way specifically.
Without another defense in your plan, Chemistry protects against poison. With another defense, it acts as a poison weapon. The Voice must name Chemistry specifically.
During setup, each faction receives a Fate Indicator matching one of the six worthless cards. Orange Catholic Bible is not one of these six.
If you hold the matching worthless Treachery Card, you may play it to activate your faction's Fate once per game. The faction chapter gives the permitted timing and effect. Keep the indicator separate from the Treachery Card: the indicator tells you which card works, but does not itself supply that card.
Once during each Mentat phase, you may exchange Fate Indicators with another faction, provided neither faction has used its Fate.
Dreamrules uses these Fate abilities instead of the old special faction Karama abilities. Do not also grant a faction its original special Karama power.
Mercenaries is played with a battle plan and uses none of its weapon, defense or leader slots. It adds one to battle strength and wins ties regardless of storm order. You may keep it if you win. Play at most one Mercenaries card in a plan. If both players use one, resolve ties by the normal priority.
When Atreides asks for your dial, disclose the troop-and-spice total on the wheel and whether you are using Mercenaries.
Supplies is played in the pre-battle window to obtain a temporary cache of four basic cards: poison weapon, projectile weapon, Shield and Snooper. They do not count toward your hand limit and are otherwise played as Treachery Cards. Return the cache cards at the end of Battle.
Two interactions remain unresolved. Question #1840 asks whether Vladimir's Spite can swap cache cards. Question #1842 asks how their expiry interacts with Fremen Fanatical Tactics. This draft does not adopt either exception.
The draw deck contains 45 cards, reconstructed from the original Dreamrules inventory. The four Supplies cache cards are kept separate from the draw deck.
After the first turn, play Weather Control during Storm after the normal distance is known and before the storm moves. It lets you choose a counterclockwise movement of zero to ten sectors instead. Resolve it before Family Atomics.
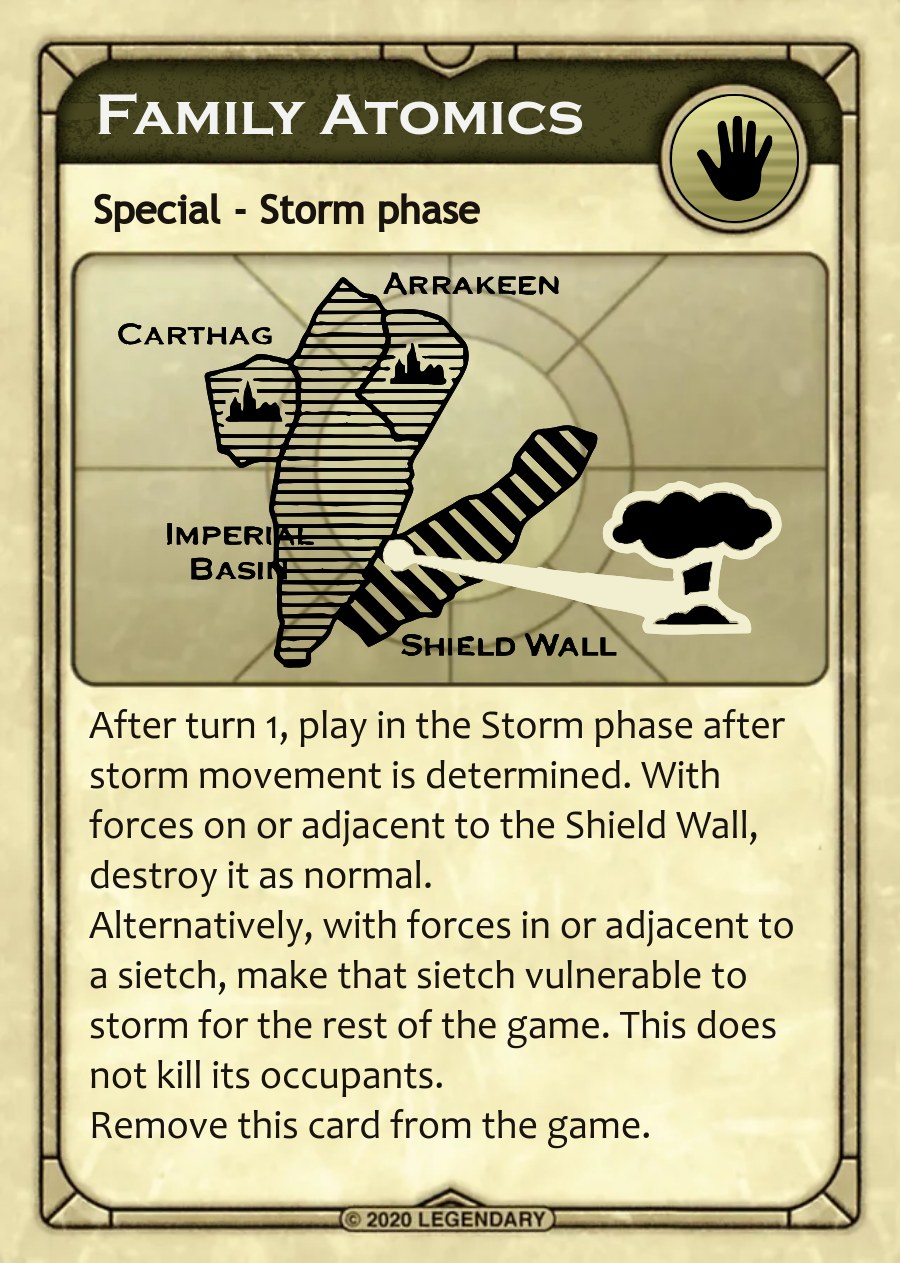
After turn one, play after the storm distance is calculated, before the storm moves. Against the Shield Wall, you need a troop there or in an adjacent territory. Atomics destroys troops on the Shield Wall and removes its protection from Arrakeen, Carthag and the Imperial Basin.
Dreamrules also allows a single sietch as the target, with an activating troop inside or adjacent. That sietch becomes vulnerable to storm for the rest of the game. Playing Atomics on the sietch does not itself kill the troops inside. Remove Atomics from the game after use.
During Shipment and Movement, make an additional on-planet move, following normal movement restrictions. It may move the same group again or a different group. It does not provide another shipment. A Hajr move does not disqualify a faction from receiving Zensunni Path.
Revive one of your leaders or up to five of your troops without paying spice. These revivals do not use the normal per-turn allowance. Return revived troops to reserves.
A leader that already fought this Battle phase remains committed to that territory even if Ghola revives it. Revival does not make the leader available for a different battle location.
Mercenaries adds strength and changes ties without using a weapon or defense slot. Supplies provides four temporary basic combat cards. Break Conditioning can replace an ordinary victory with a no-loss result when the required strength margin is met. Read Fate and Treachery Cards and Special battle results for their procedures.
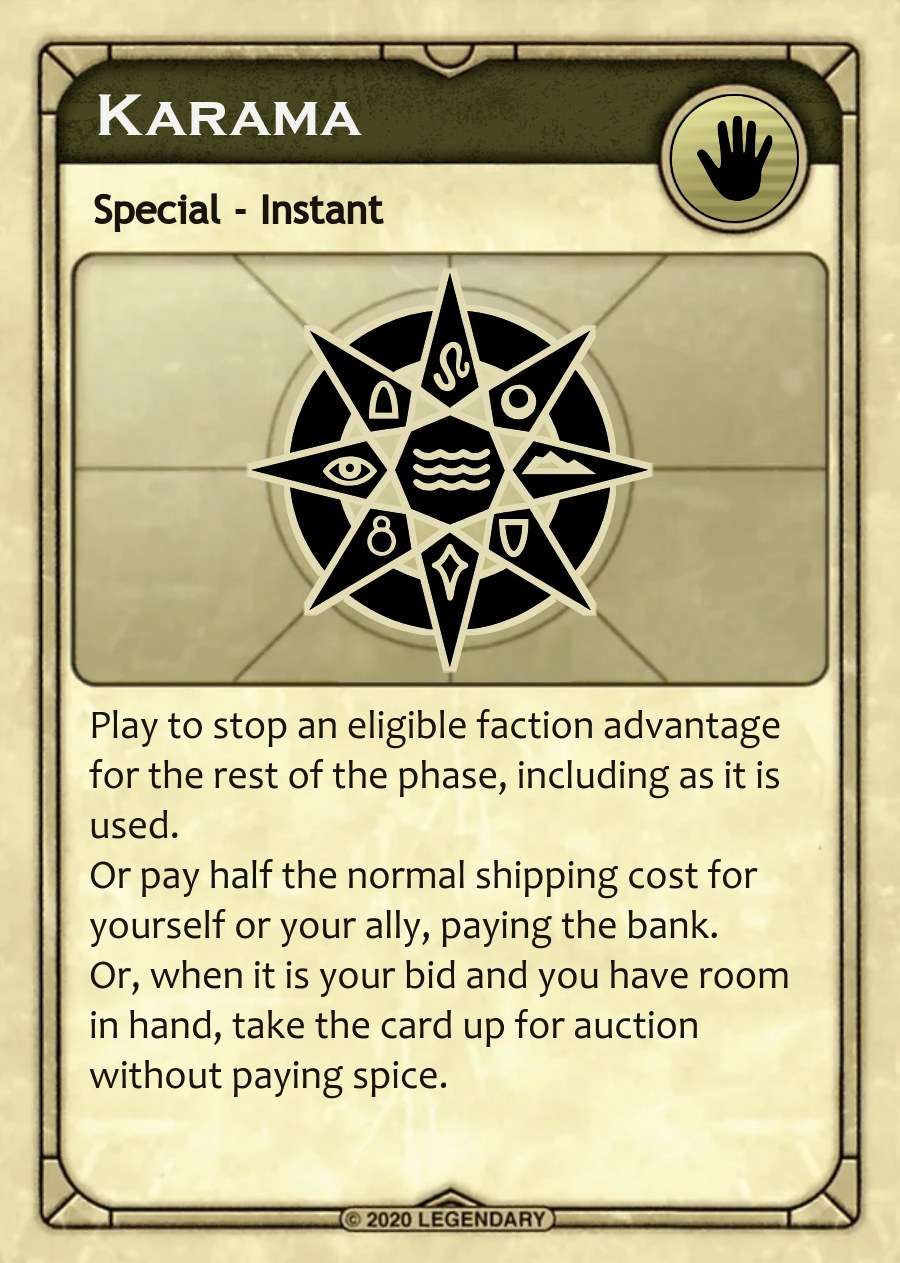
Quantity: 2
Choose one of the three uses on this page. The draw deck contains two Karama cards. Discard the card after use.
Stopping an advantage suppresses that advantage for the rest of the current phase. A single use does not stop every advantage of the faction. Suppression ends with the phase.
Dreamrules has no special faction Karama powers. Each faction has its own Fate ability, activated with a matching worthless card.
Name the opposing faction and the eligible advantage you are stopping. Play at that advantage's declaration window. The following pages list what changes and when to play.
During Bidding, when it is your bid and you have room in hand, take the card up for auction without paying spice. This use obtains that card; it does not suppress an advantage.
For your own shipment or your ally's, pay half the normal shipping cost. Pay the Spice Bank. This use discounts the shipment; it does not suppress the Guild's advantages for the phase.
Bene Gesserit may use a worthless card for these ordinary Karama effects. It follows the same timing and restrictions.
First choose the use. For suppression, name one eligible advantage and check its timing. Many windows occur as the faction attempts the action. Others close earlier. Do not wait until the result you wanted to prevent has already happened.
The battle sequence matters. Ordinary Voice has its own window, followed by Battle Prescience. Several other battle advantages must be stopped before plans are committed, even when their effects would happen after reveal. Use the specific windows on the faction reference pages.
Bidding, before inspection. Atreides cannot inspect future auction cards this phase.
Storm. Atreides cannot inspect the top Nexus card for the rest of this phase.
At the Prescience window, including after the question but before the answer. Atreides cannot demand part of an opposing plan this Battle phase.
Before battle-plan commitment. Atreides cannot use the token in any battle this phase.
Spice Collection. Atreides collects no spice from this advantage this phase.
Bidding, including after winning an auction but before drawing. Harkonnen receives no bonus cards from later purchases this phase.
At the leader-capture step. Harkonnen cannot capture leaders this Battle phase.
Before battle-plan commitment. Harkonnen cannot swap the played cards this phase. The window is earlier than the leader death that would trigger Spite.
The current faction sheet specifies no Karama interaction.
Before the first bid on a card. Payments for that card and later cards go to the bank for the phase, including spice used for subsidy.
Bidding, including after the final sale but before the phase ends. Discard the spice set aside for subsidy this phase.
Before battle-plan commitment. Sardaukar count as normal troops this phase. The Emperor may answer a dial Prescience again.
Shipment and Movement. Shipping payments go to the bank this phase.
Shipment and Movement. Guild pays normal shipping rates this phase. If interrupted while shipping, Guild may change its shipment. Its ally is unaffected.
Shipment and Movement. Guild and its ally may ship only from reserves to the planet this phase. Their shipping rates are unchanged.
Before Guild's normal turn in storm order. Guild cannot change turn order this phase.
Before battle-plan commitment. Guild cannot retreat during this Battle phase.
Before battle-plan commitment. Fremen must pay spice for full strength or use the ordinary unsupported strength rules this phase.
Before battle-plan commitment. Fedaykin count as normal troops this phase. Fremen may answer a dial Prescience again.
At its early card-reveal window. Fremen cannot announce protected cards this phase.
Shipment and Movement, including after movement is declared. Fremen redoes that move with ordinary movement limits: one territory, or three with ornithopters.
Shipment and Movement, including its closing window. Fremen cannot grant the extra move this phase.
Spice Blow. Fremen cannot place additional worms and can be devoured this phase. Thumper riding worms are unaffected.
Storm or Shipment and Movement. Fremen takes full storm losses this phase. If played during its Shipment and Movement turn, Fremen may redo its whole turn in that phase.
Storm. Fremen cannot inspect the top Storm card for the rest of this phase.
Spice Blow. Fremen cannot inspect the top cards of the Spice decks for the rest of this phase. The deck structure is tracked separately in #1837.
The faction sheet specifies no Karama interaction for Rallying Shipment, Thumpers or Rain on Arrakis.
CHOAM Charity. Bene Gesserit loses automatic charity and must qualify under the ordinary rule, having zero or one spice.
Any phase, including in response to its use. Bene Gesserit discards the worthless card without effect and cannot use worthless cards as Karamas again that phase.
At the Voice window. Bene Gesserit cannot use ordinary Voice in its own or its ally's battles this phase.
Shipment and Movement, before an affected flip. Bene Gesserit troops cannot flip for the rest of that phase.
Prediction has no Karama interaction. The Voice granted by Political Marriages cannot be stopped by Karama.
Storm. Bene Tleilax cannot start an Infiltration this phase. This does not affect Zoal's special ability.
Revival. Bene Tleilax collects no income from troop or leader revivals this phase.
Revival. Bene Tleilax follows normal revival limits and prices this phase, including the three-troop limit and two-spice cost per ordinary troop.
Shipment and Movement. Bene Tleilax cannot sacrifice reserve troops to pay shipment costs this phase.
Before battle-plan commitment. Zoal is a normal strength-two leader this phase.
The faction sheet specifies no Karama interaction.
Bidding, before the batch is inspected or split. Ixians cannot inspect or split the batch this phase.
Bidding. Ixians cannot exchange a hand card with the card up for bid this phase.
Before battle-plan commitment. Suboids cannot die in place of Cyborgs this phase. Cyborgs themselves are immune to Karama.
Mentat. Ixians cannot move the Surveyor this phase.
Any phase, including in response to a transfer. Return the cards involved. Ixians and their ally cannot transfer or swap Treachery Cards again that phase.
The faction sheet specifies no Karama interaction during setup.
A power can contain several effects. Use the consequence listed for that advantage. Stopping Augmented Troops removes the Suboid substitution; it does not turn Cyborgs into ordinary troops.
Quantity: 2
Publicly ask one player one yes-or-no question about the game. They must answer publicly and truthfully. The draw deck contains two Truthtrance cards.
Name one player and ask a single yes-or-no question about the game. They answer publicly. You may ask about information they hold or a future action to which they can commit.
Playing Truthtrance pauses the game completely. Ask the question and obtain the answer before play continues. No binding deals, other cards or other game actions may occur during this pause. A second Truthtrance cannot interrupt it.
You may play Truthtrance at any time. To constrain a battle plan, use it before commitment in the preparation window. Once plans are committed, a question does not grant permission to rewrite them.
When the question concerns a future action, the answer is a commitment. The following pages explain how possibility, later events and conditions affect it.
At the time of the answer, it must be theoretically possible to fulfill it, however unlikely. Consider the information available to the answering faction, including its own cards, accessible deck information and earlier revelations.
After answering, you may not deliberately take an action that makes your commitment impossible. You may take a risk that could cause it to become impossible later.
If later events make fulfillment impossible, the answer no longer requires an impossible action. The v0.8 rule allows the player to proceed without announcing that the commitment can no longer be fulfilled.
A question about the next battle usually gives fewer opportunities for circumstances to change than one about a battle several turns away. Name the action and the relevant moment clearly.
Questions must concern the game. Do not ask about a future Truthtrance answer, or leave a person or choice to be specified after the target answers.
Prefer information the target knows or actions it can choose. Avoid relying on another player's hidden cards or a remembered note being correct.
A conditional answer must be fulfilled only if its condition is fulfilled. Until fulfillment of the condition becomes impossible, the target must assume it will occur. Extra conditions give the target more ways for the commitment to cease applying.
Ask slowly enough for the target and the table to understand the exact question. Clear wording makes the commitment easier to remember and apply.
Quantity: 1
Play as your weapon in a battle plan. Kills the opposing leader unless a projectile defense protects it. You may keep it if you win.
Quantity: 1
Play as your weapon in a battle plan. Kills the opposing leader unless a projectile defense protects it. You may keep it if you win.
Quantity: 1
Play as your weapon in a battle plan. Kills the opposing leader unless a projectile defense protects it. You may keep it if you win.
Quantity: 1
Play as your weapon in a battle plan. Kills the opposing leader unless a projectile defense protects it. You may keep it if you win.
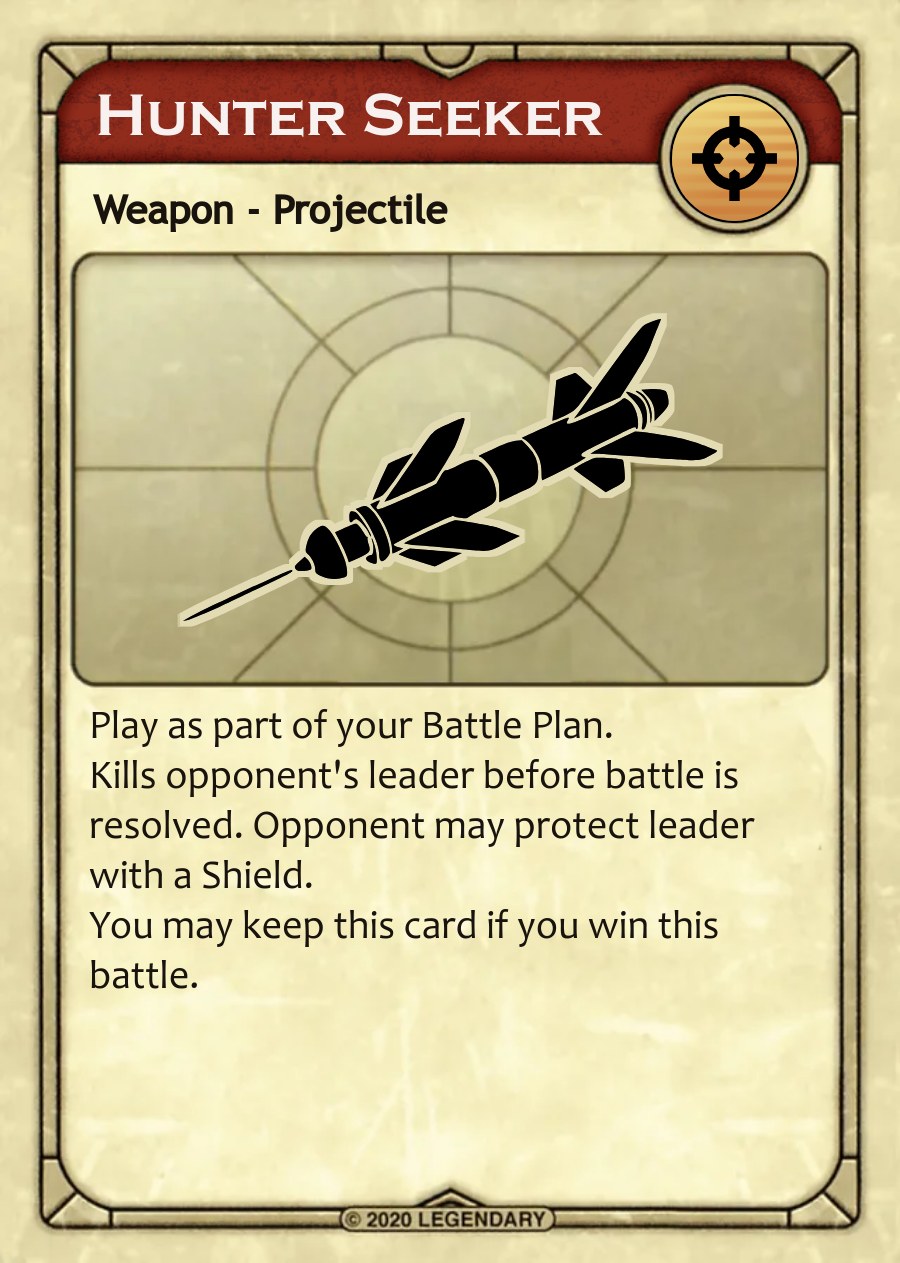
Quantity: 1
Play as your weapon in a battle plan. Kills the opposing leader unless a projectile defense protects it. You may keep it if you win.
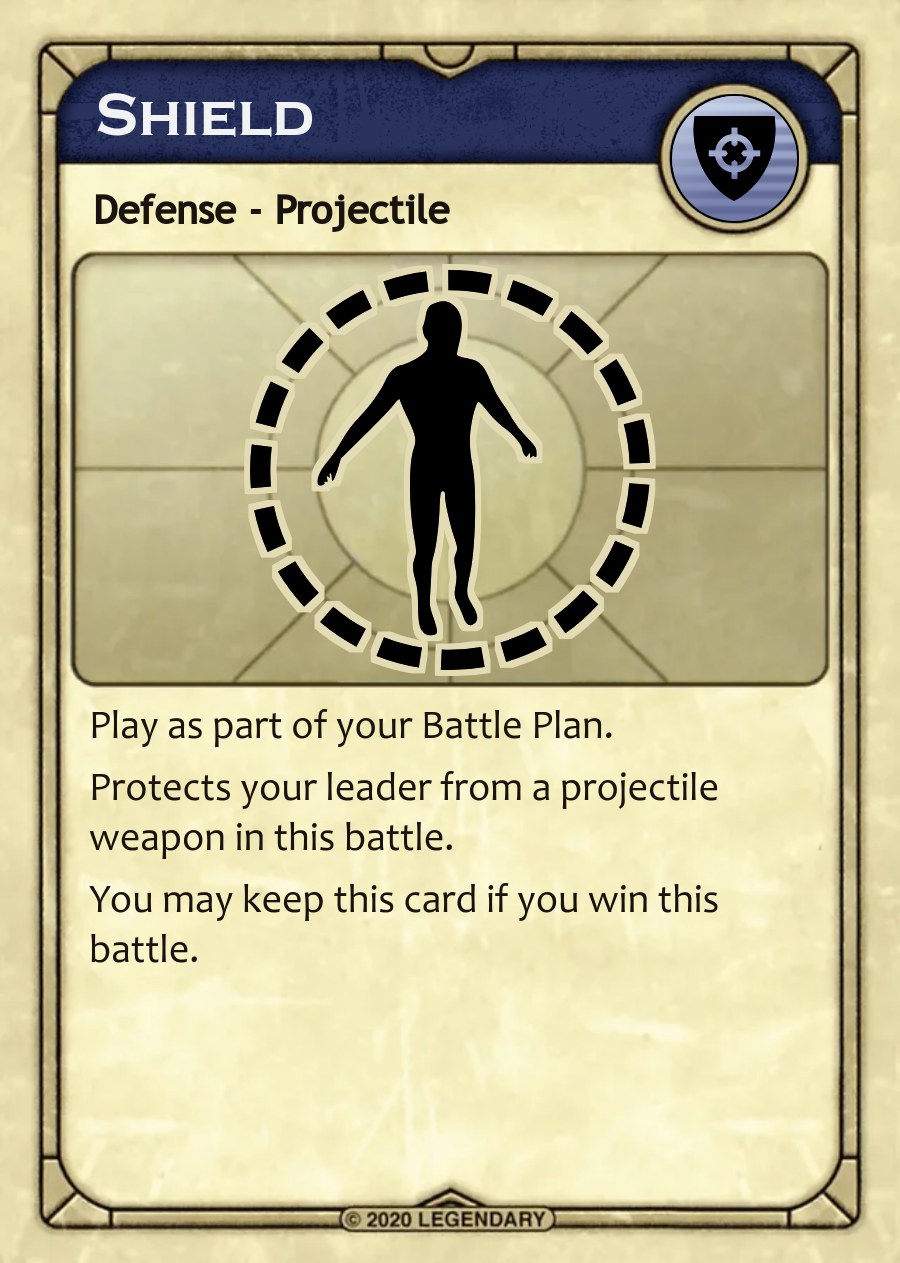
Quantity: 5
Play as your defense. Protects your leader from projectile weapons. A Lasgun in either plan causes an explosion with a Shield. You may keep this card if you win.
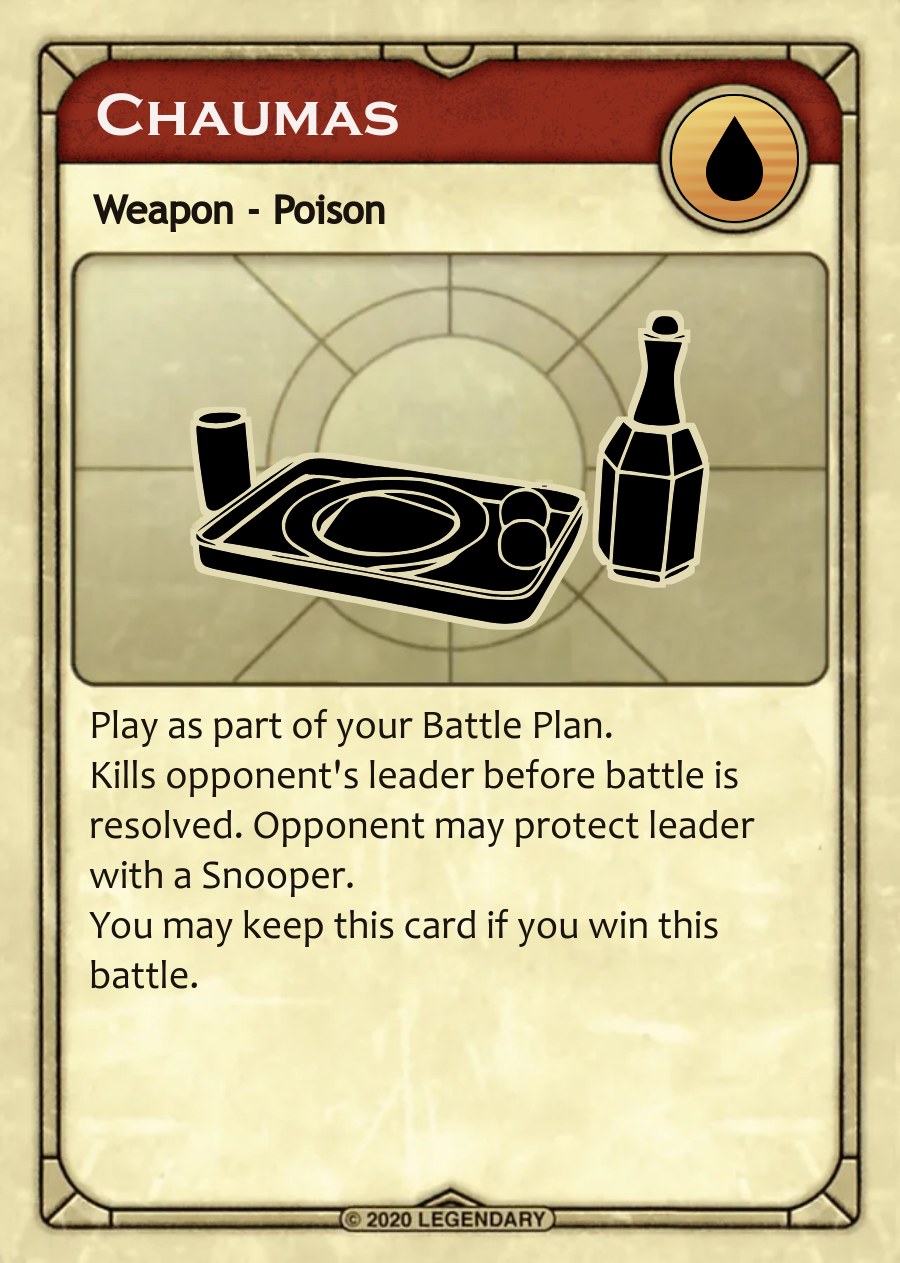
Quantity: 1
Play as your weapon in a battle plan. Kills the opposing leader unless a poison defense protects it. You may keep it if you win.
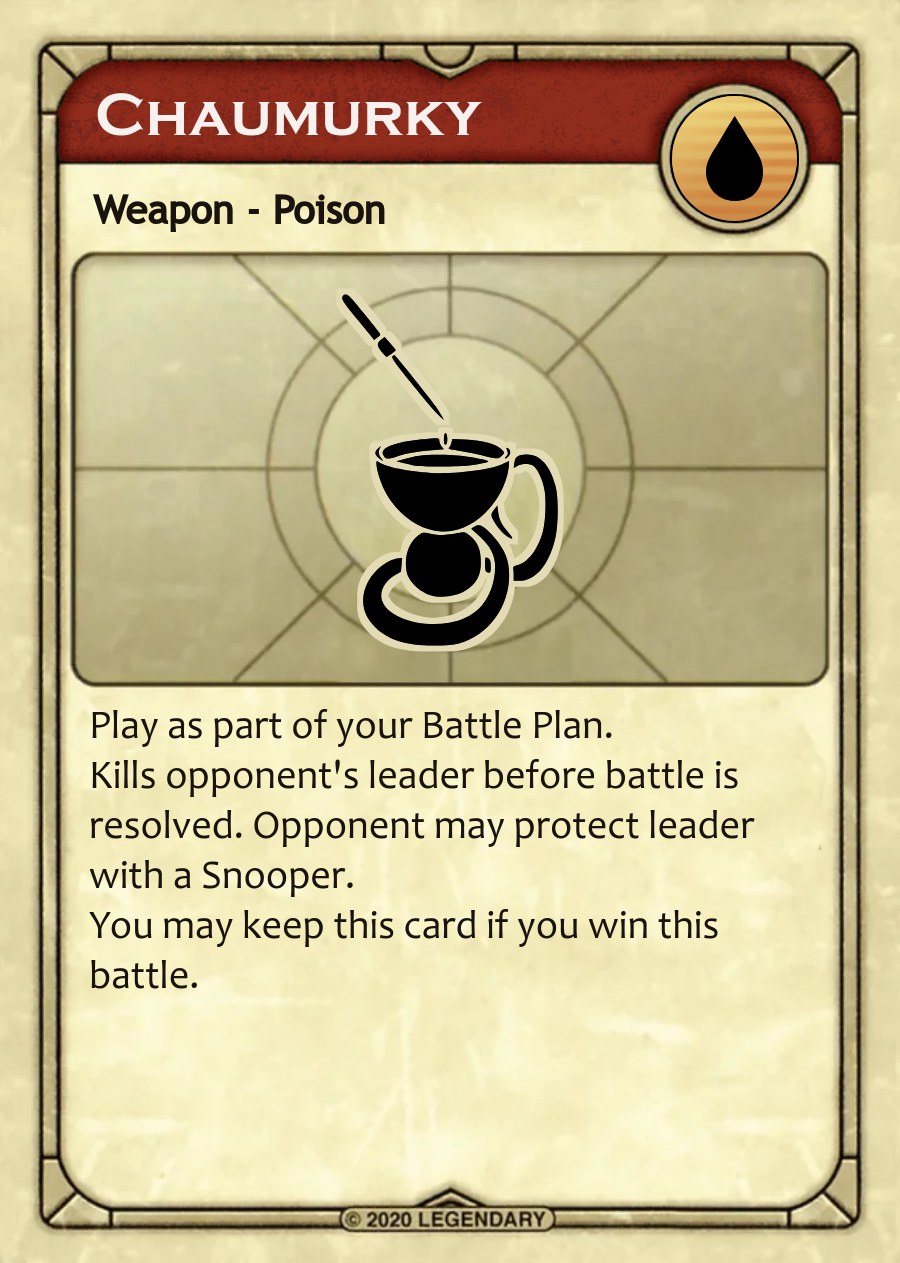
Quantity: 1
Play as your weapon in a battle plan. Kills the opposing leader unless a poison defense protects it. You may keep it if you win.
Quantity: 1
Play as your weapon in a battle plan. Kills the opposing leader unless a poison defense protects it. You may keep it if you win.
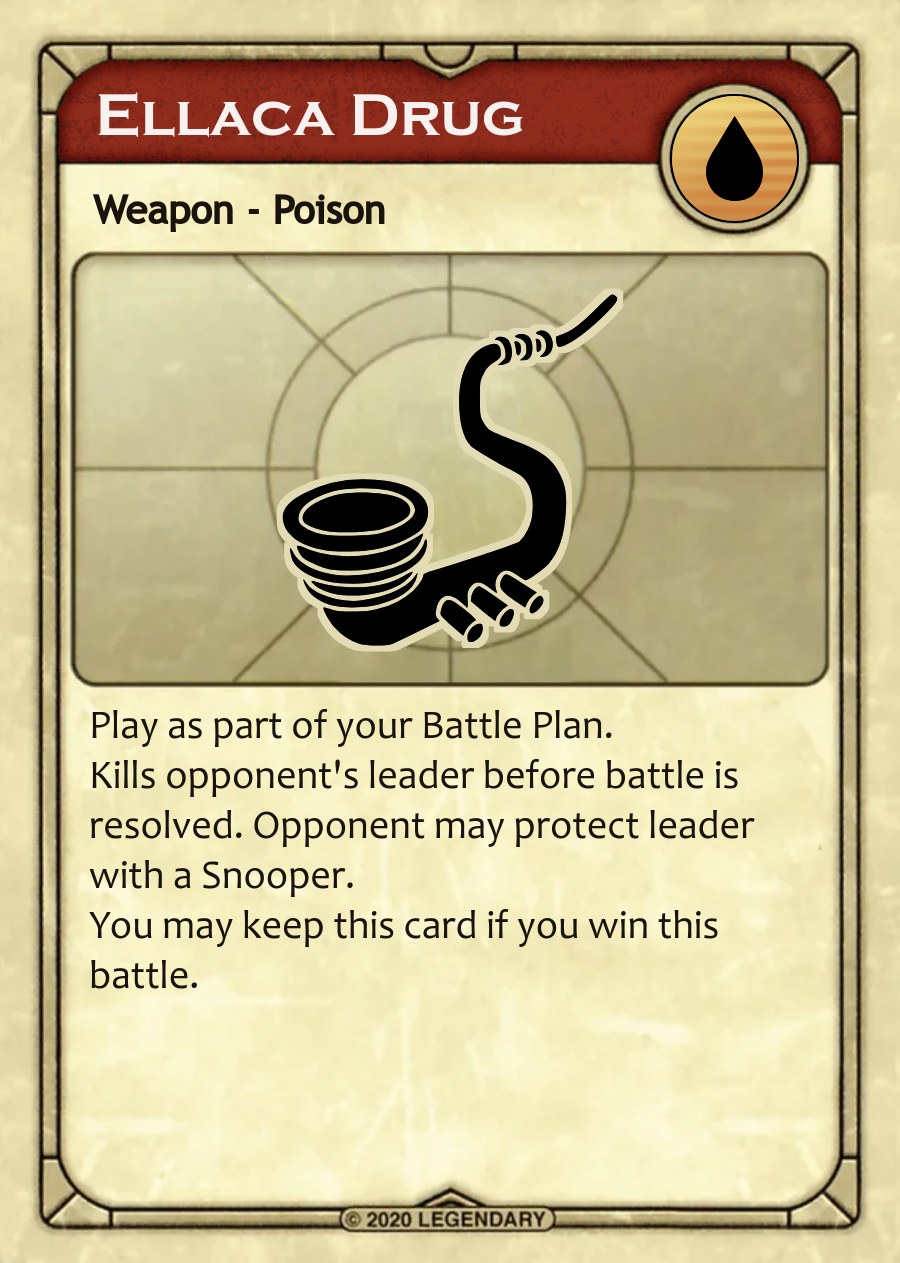
Quantity: 1
Play as your weapon in a battle plan. Kills the opposing leader unless a poison defense protects it. You may keep it if you win.
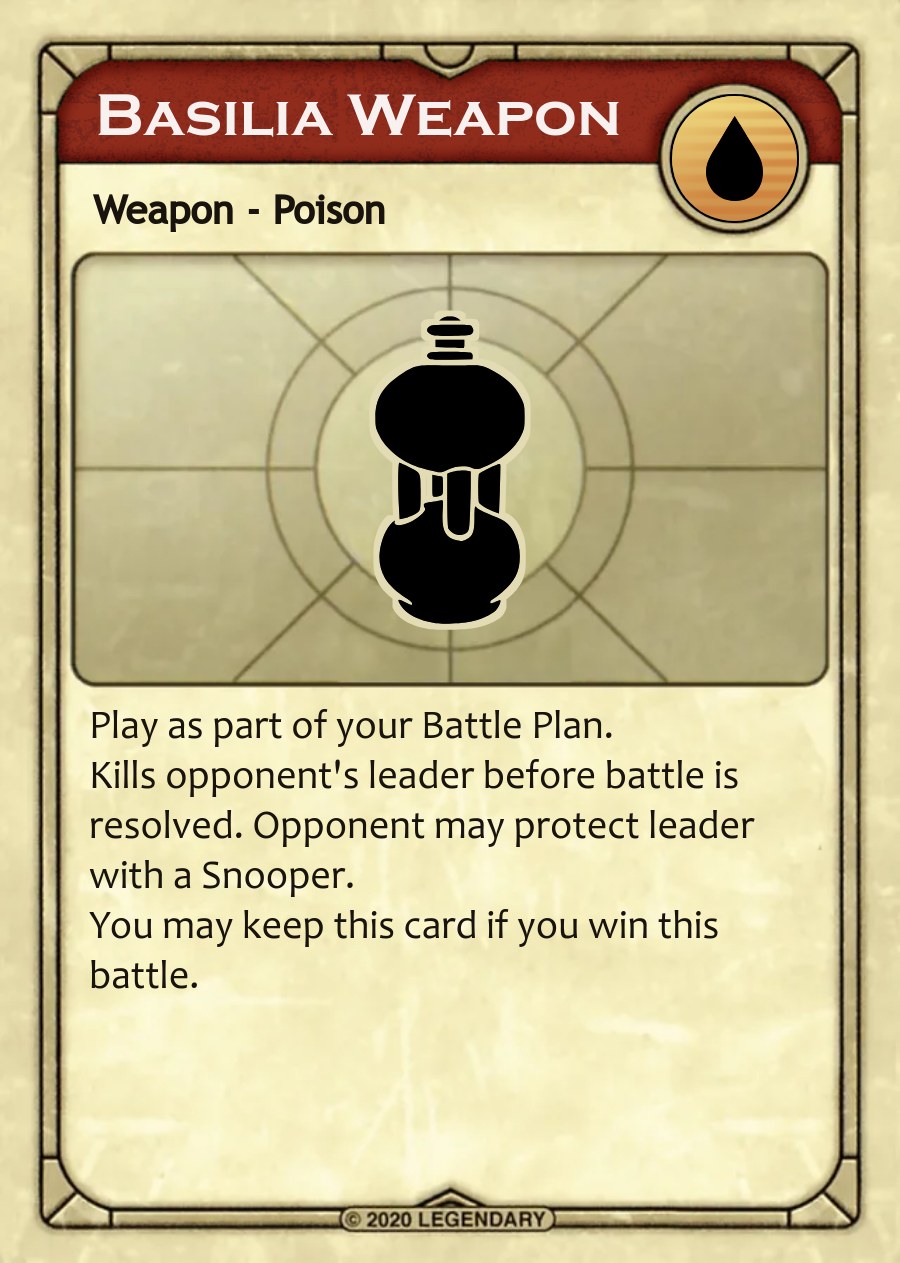
Quantity: 1
Play as your weapon in a battle plan. Kills the opposing leader unless a poison defense protects it. You may keep it if you win.
Quantity: 5
Play as your defense. Protects your leader from poison weapons. It provides no protection from projectiles or Lasgun. You may keep this card if you win.
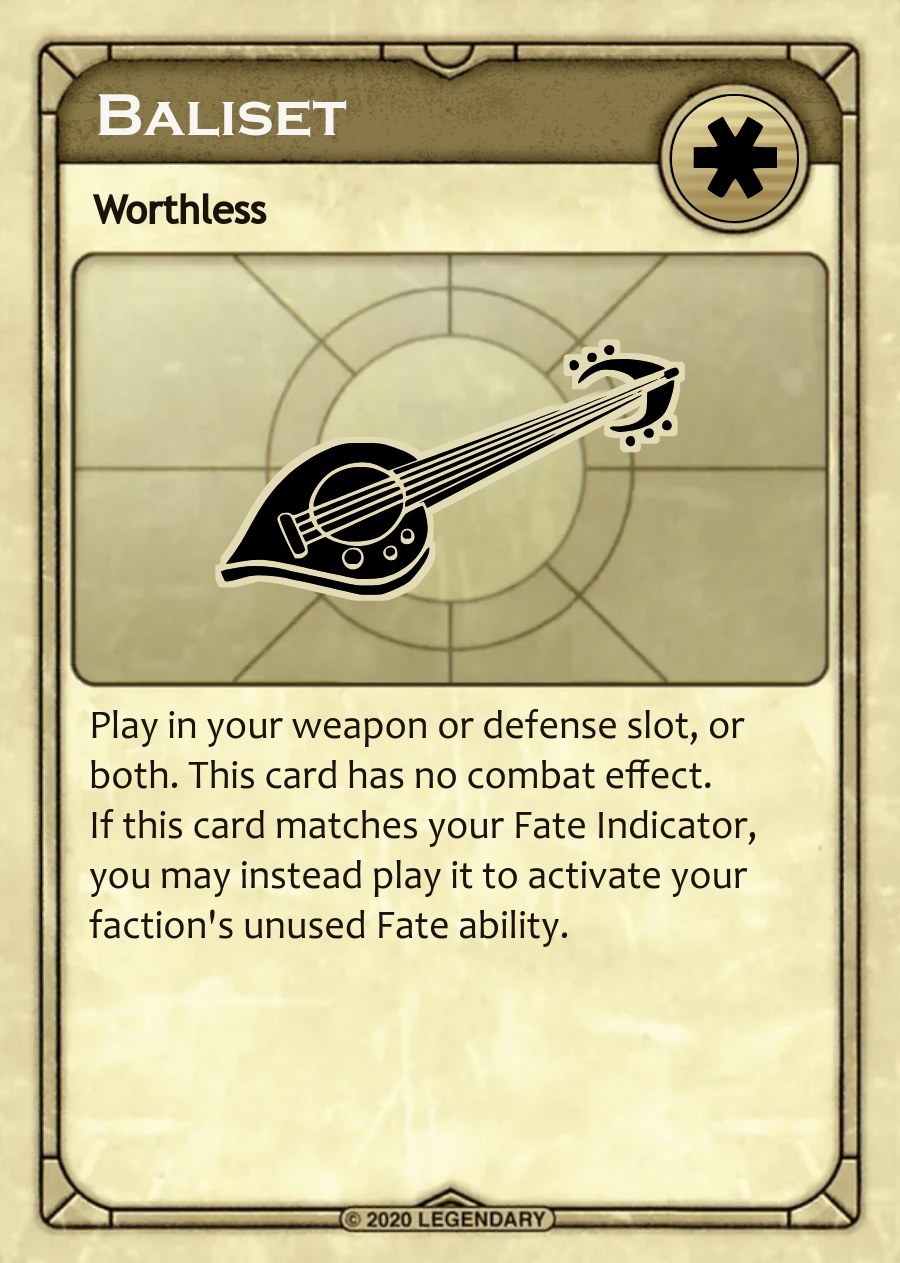
Quantity: 1
Has no combat effect. Play in a weapon or defense slot. If it matches your Fate Indicator, you may instead use it for your once-per-game faction Fate, at the time your faction allows.
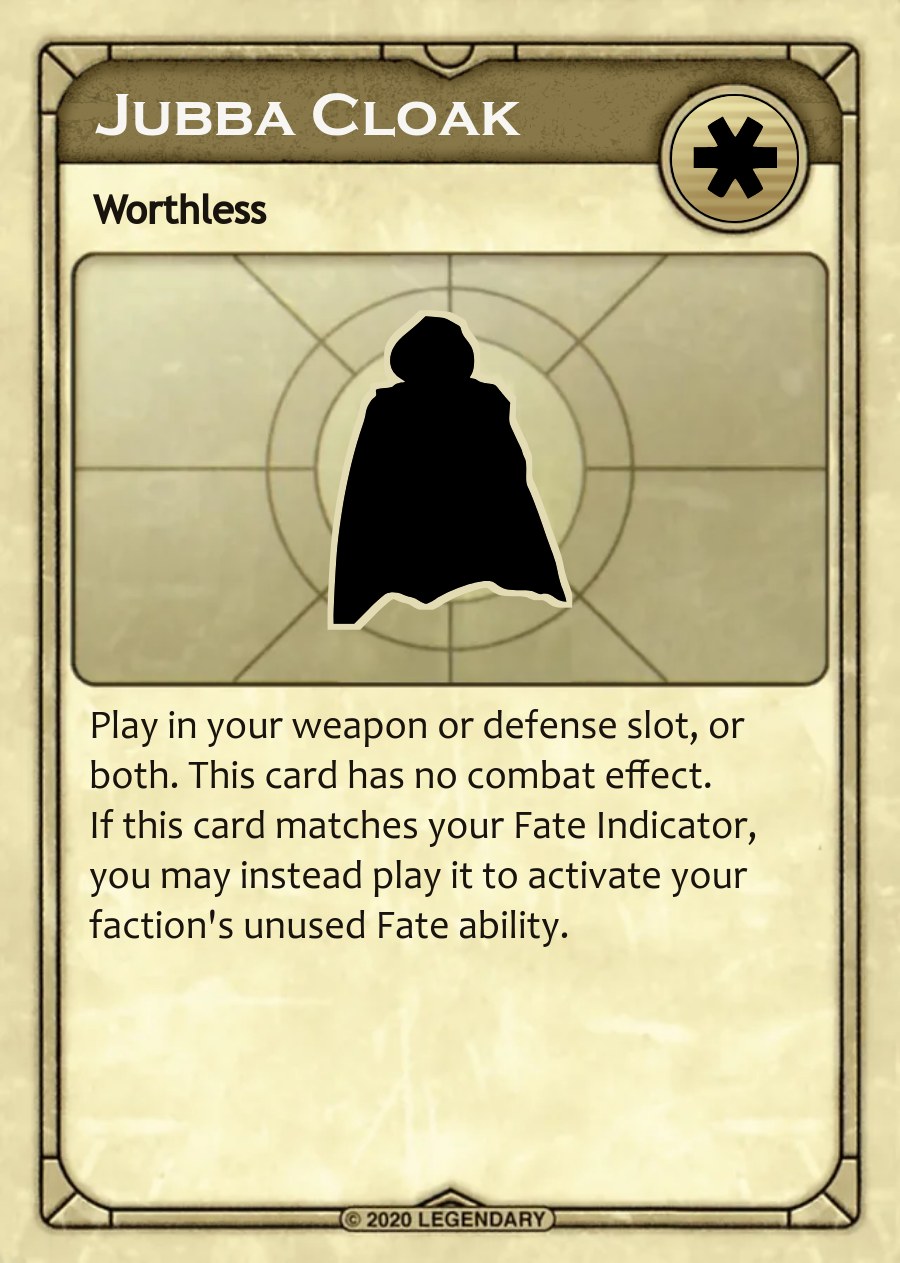
Quantity: 1
Has no combat effect. Play in a weapon or defense slot. If it matches your Fate Indicator, you may instead use it for your once-per-game faction Fate, at the time your faction allows.
Quantity: 1
Has no combat effect. Play in a weapon or defense slot. If it matches your Fate Indicator, you may instead use it for your once-per-game faction Fate, at the time your faction allows.
Quantity: 1
Has no combat effect. Play in a weapon or defense slot. If it matches your Fate Indicator, you may instead use it for your once-per-game faction Fate, at the time your faction allows.
Quantity: 1
Has no combat effect. Play in a weapon or defense slot. If it matches your Fate Indicator, you may instead use it for your once-per-game faction Fate, at the time your faction allows.
Quantity: 1
Has no combat effect. Play in a weapon or defense slot. If it matches your Fate Indicator, you may instead use it for your once-per-game faction Fate, at the time your faction allows.
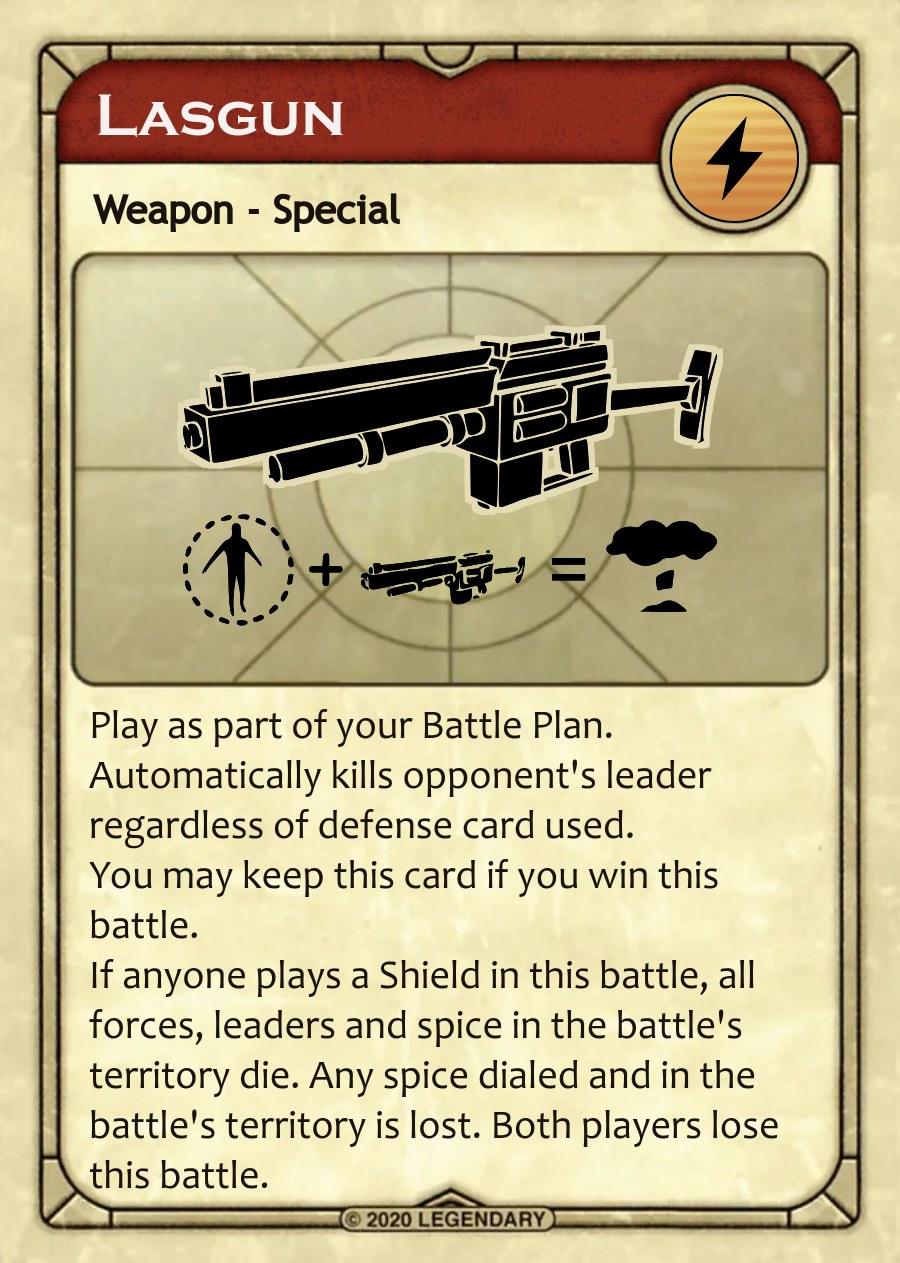
Quantity: 1
Kills the opposing leader regardless of defense. A Shield in either plan causes an explosion that destroys all troops, leaders, spice and played cards. Neither side wins. A successful traitor call takes precedence.
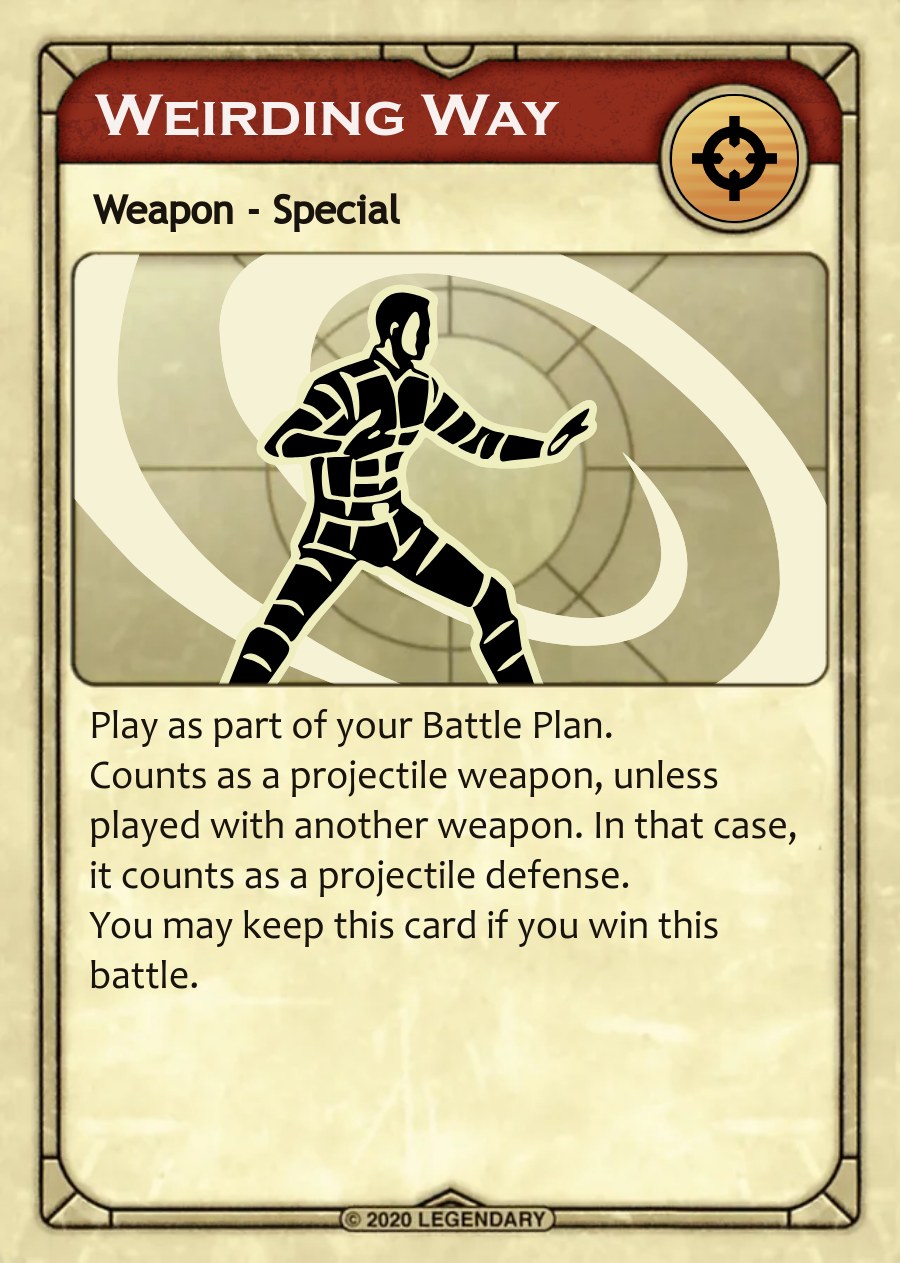
Quantity: 1
A projectile weapon when played alone. With another weapon, it instead becomes a projectile defense. In that role it does not protect against Lasgun and does not cause a Lasgun-Shield explosion. You may keep it if you win.
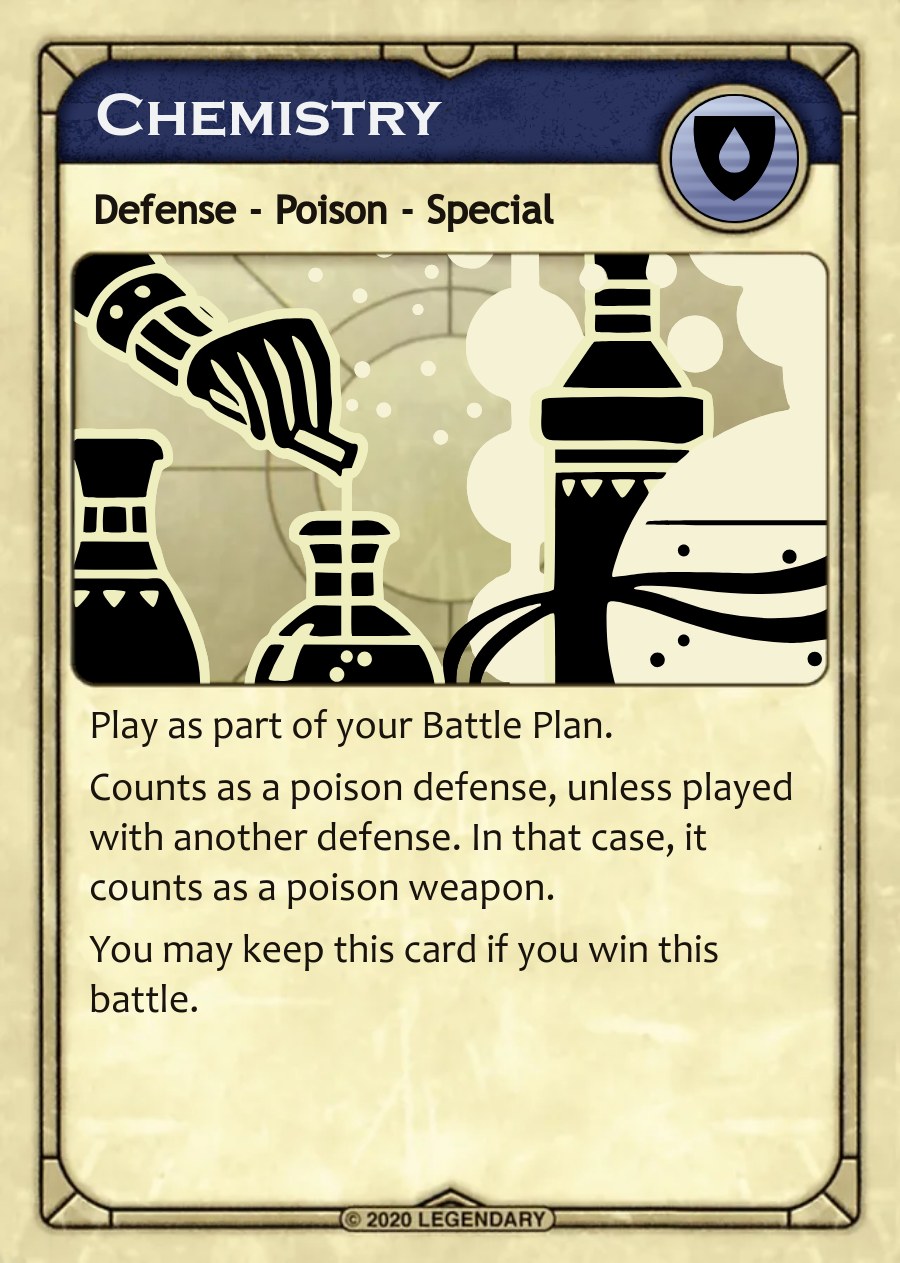
Quantity: 1
A poison defense when played alone. With another defense, it instead becomes a poison weapon. Determine its role from the other card in the plan. You may keep it if you win.
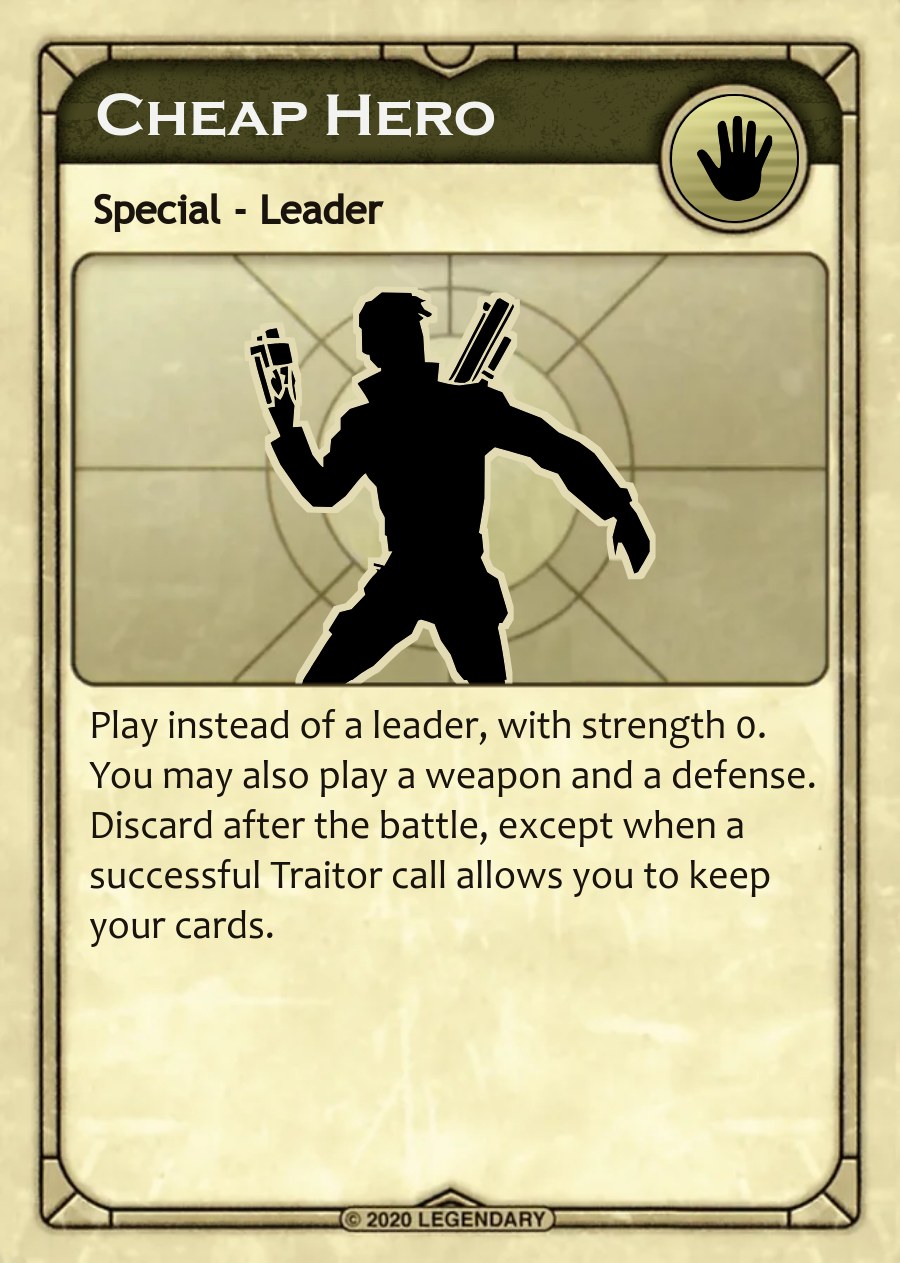
Quantity: 2
Replaces a leader with zero strength and permits a weapon and defense. Cannot be called traitor or named by The Voice. Normally discard after use; a traitor winner keeps played cards. All Cheap Hero artworks share these rules.
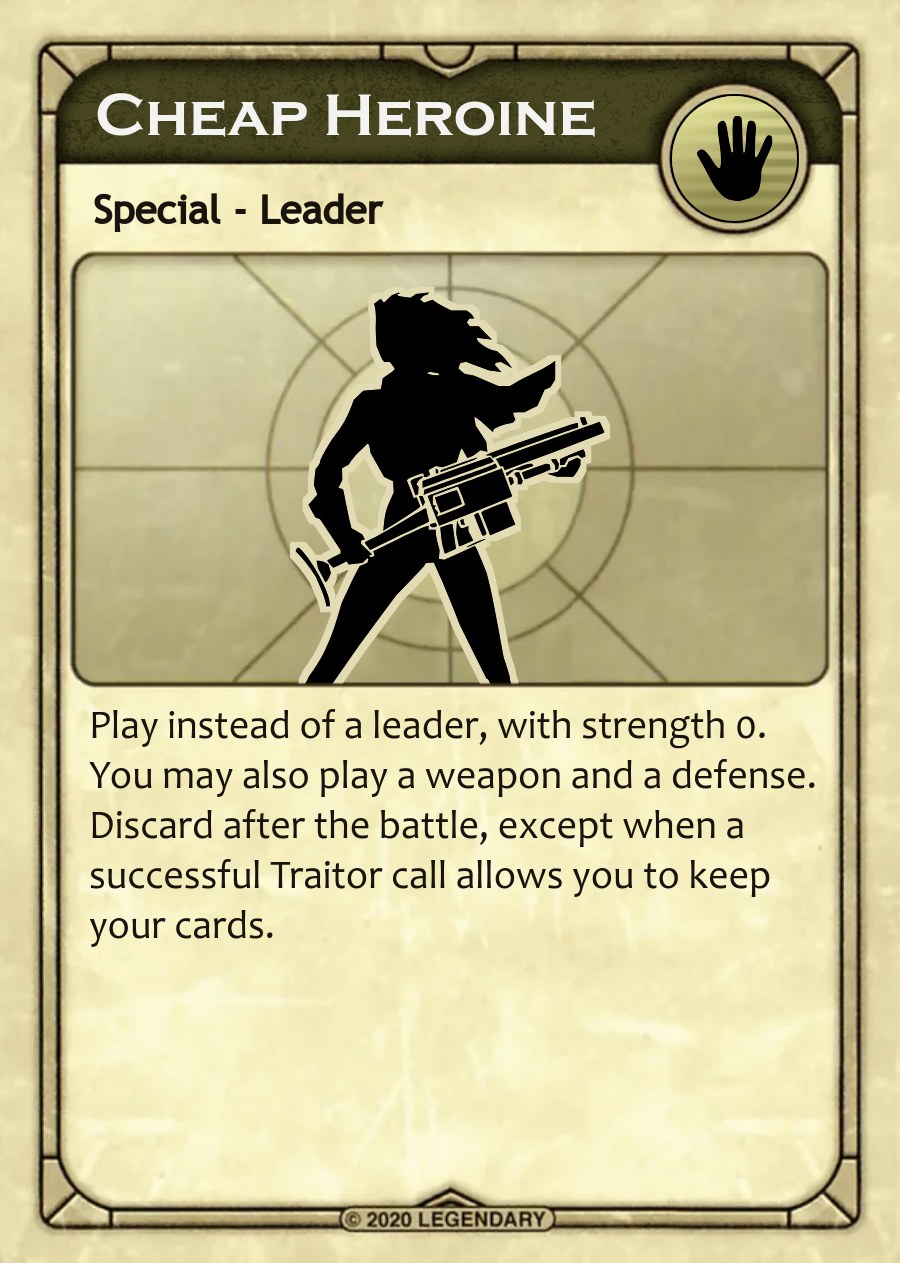
Quantity: 1
The female-art Cheap Hero has the same rules as Cheap Hero. The draw deck contains two Cheap Heroes and one Cheap Heroine.
Quantity: 2
Adds one strength and wins ties. Uses no plan slot; play at most one. If both sides use it, normal tie priority applies. When asked for your dial, also disclose Mercenaries. You may keep it after winning.
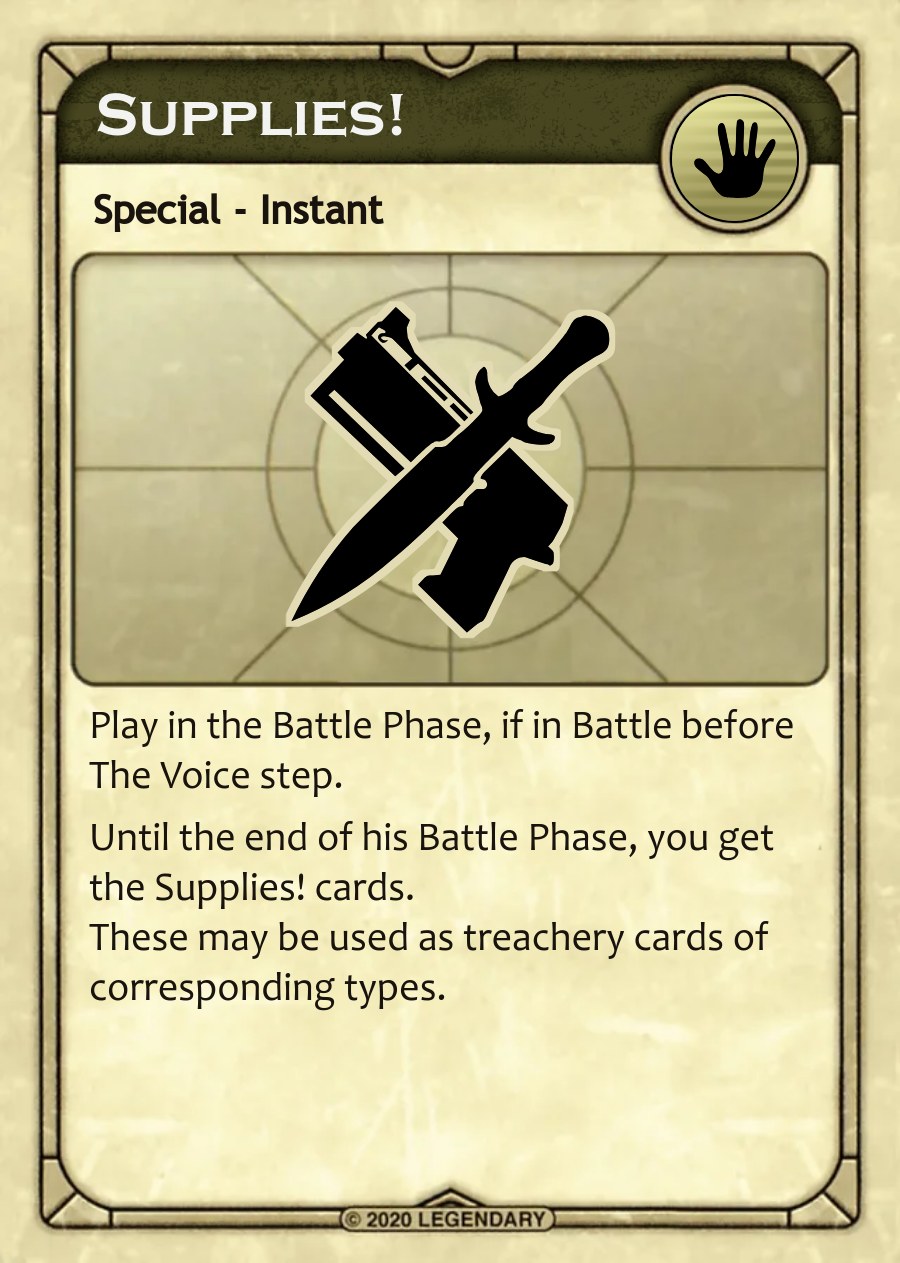
Quantity: 1
Before The Voice, play Supplies to take the four cache cards shown here. They do not count toward your hand limit. Use them as their printed card types. Return cards when lost and all remaining cache cards at the end of Battle. Winning lets you keep them until then.
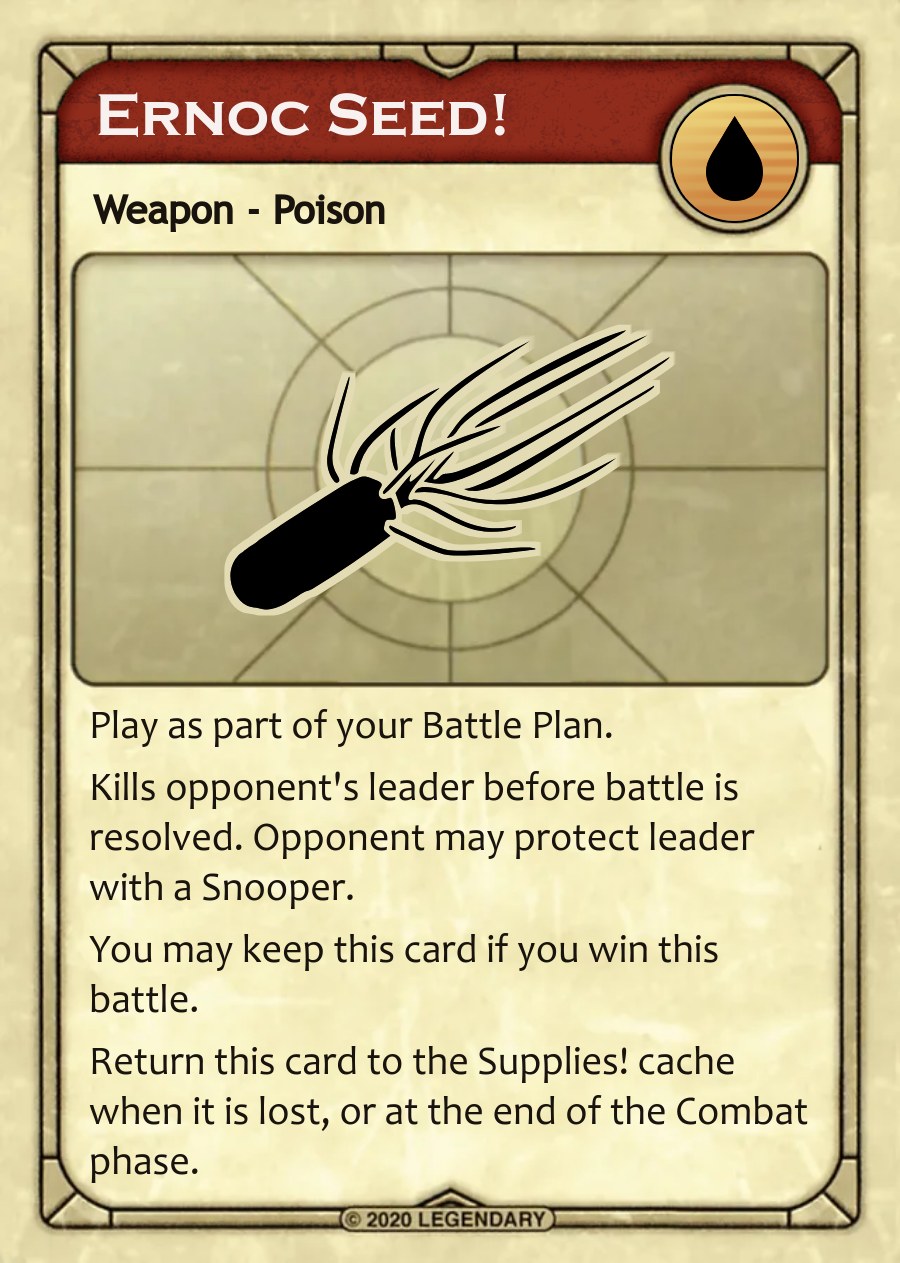
A poison weapon. Kills the opposing leader unless protected by a poison defense. Return it to the cache when lost, or at the end of Battle.
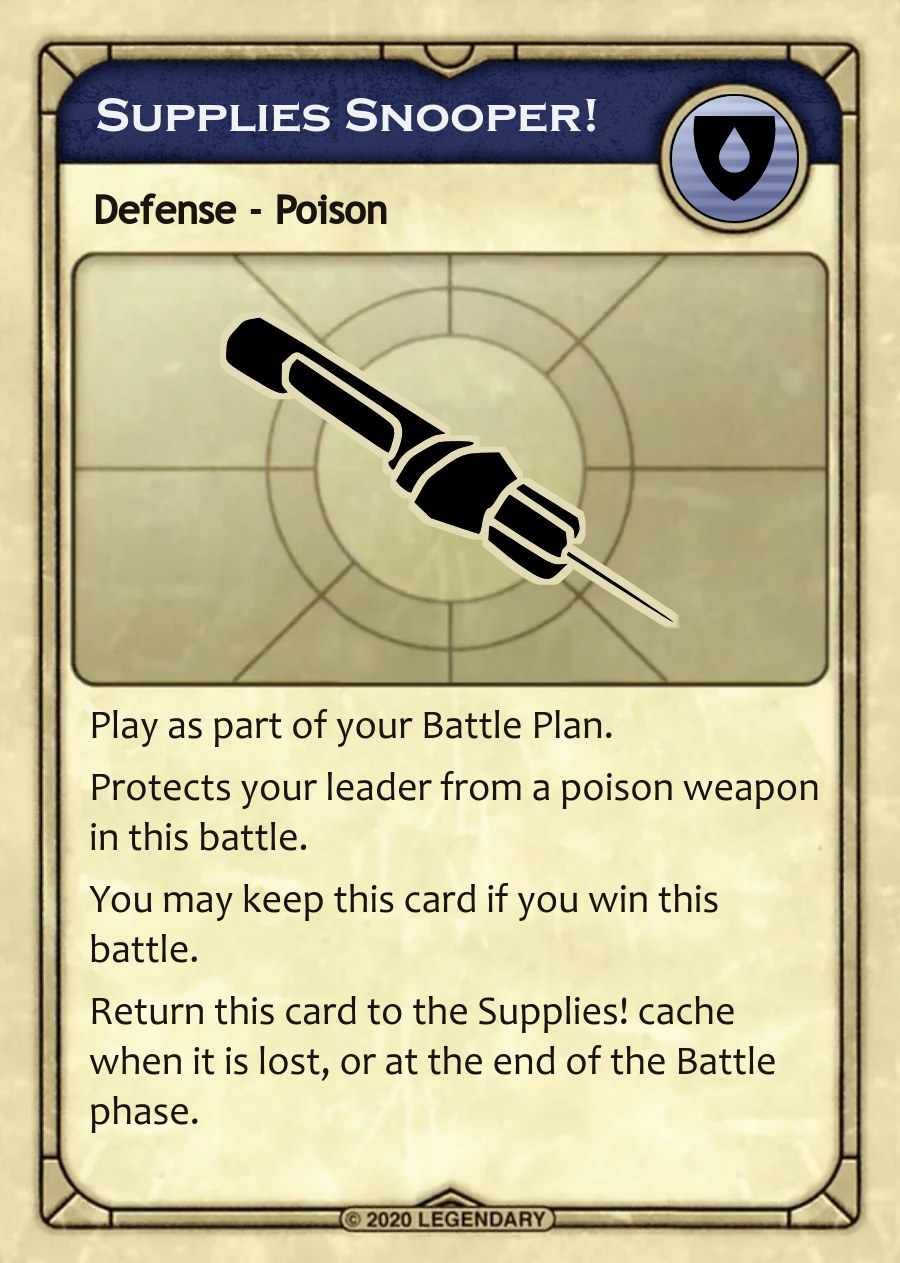
A poison defense. Protects your leader from poison weapons. Return it to the cache when lost, or at the end of Battle.
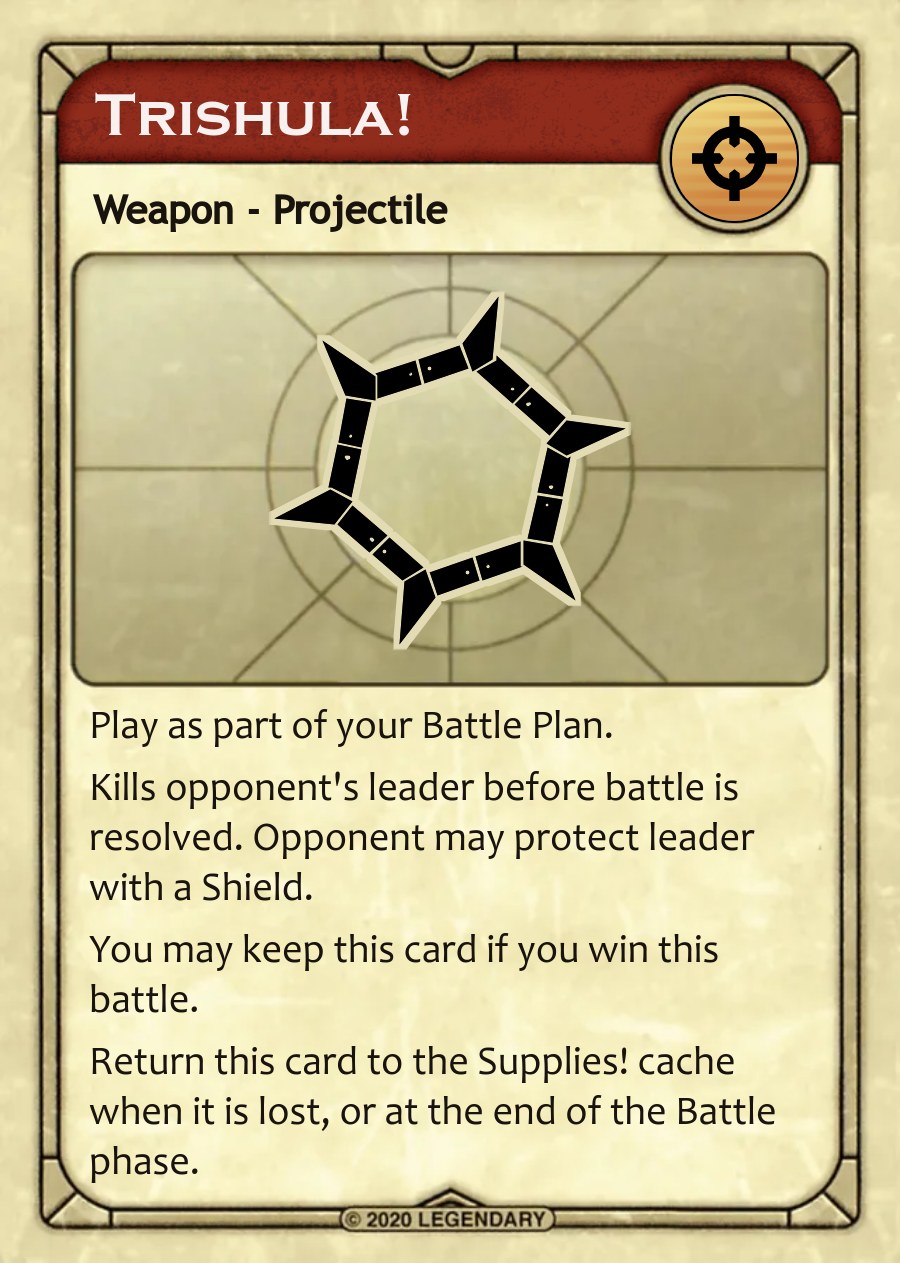
A projectile weapon. Kills the opposing leader unless protected by a projectile defense. Return it to the cache when lost, or at the end of Battle.
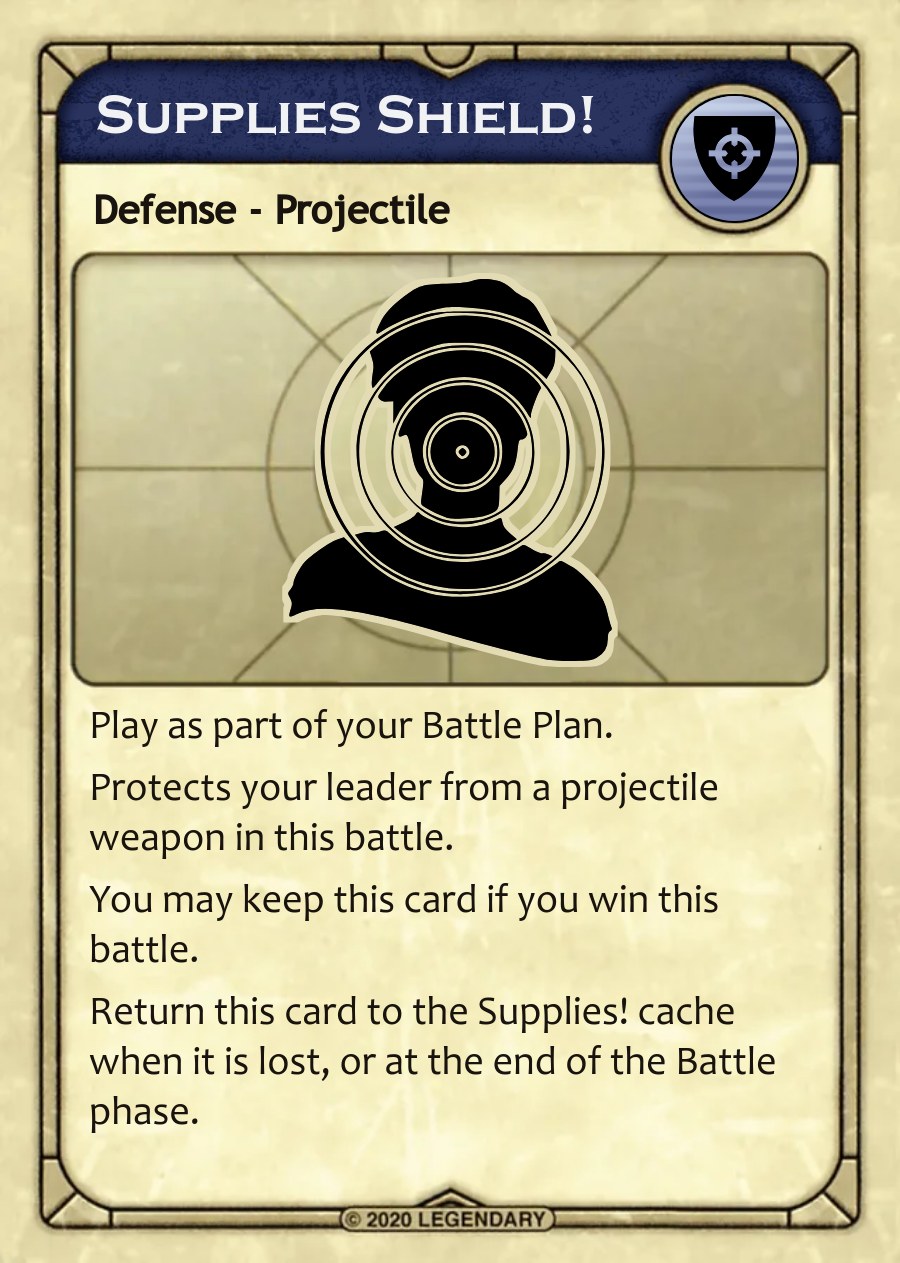
A projectile defense. Protects your leader from projectiles. It is a Shield for a Lasgun explosion. Return it to the cache when lost, or at the end of Battle.
Quantity: 1
After reveal, if your strength is at least twice the opponent's after leader deaths, win without losses, save your leader and kill theirs. Leaders stay committed. See Special battle results for aftermath and open timing questions.
Quantity: 1
During your own turn in Shipment and movement, play Hajr to take one additional on-planet move. Move the same group again or another group, obeying normal restrictions. It grants no shipment and does not disqualify you from Zensunni Path.
Quantity: 1
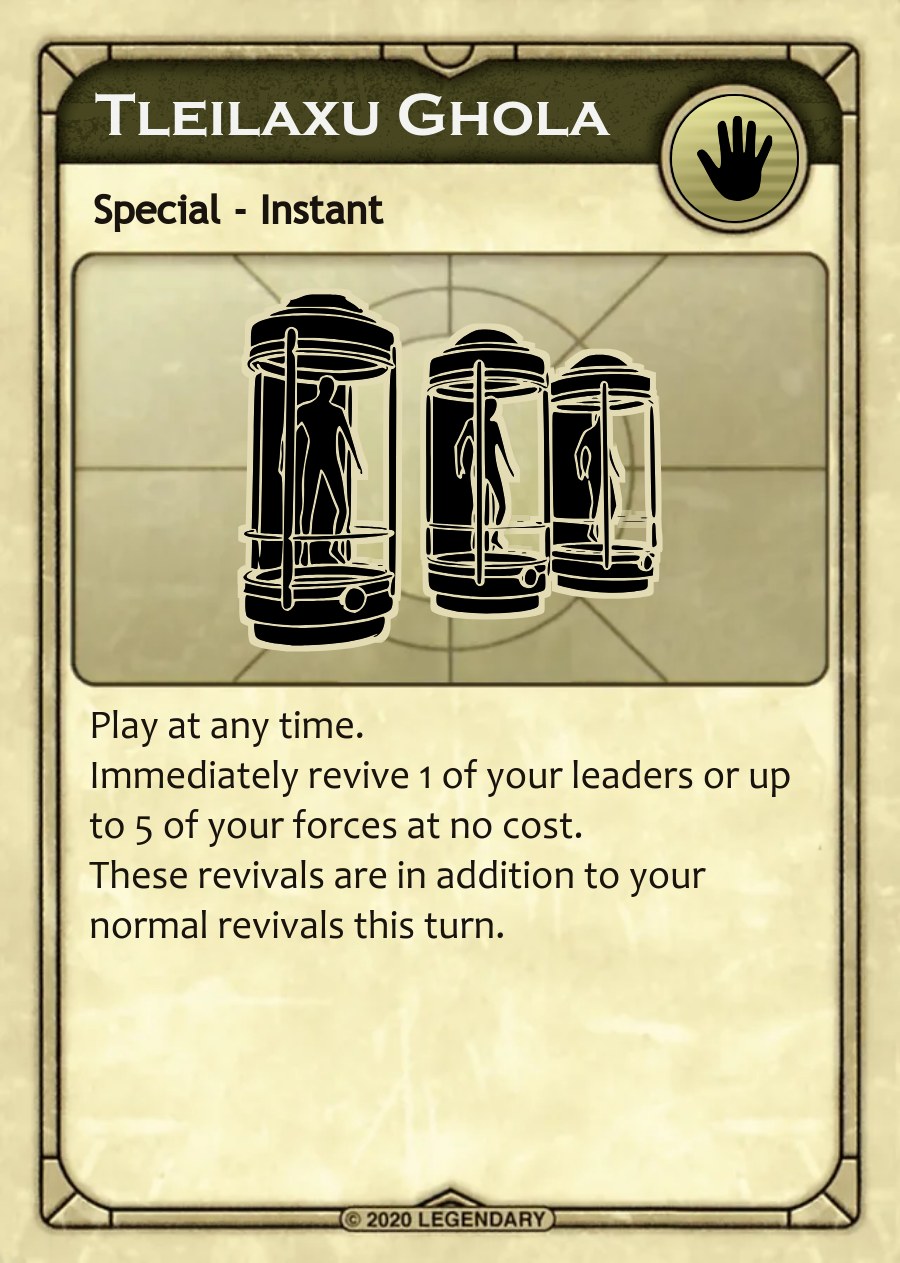
Revive one leader or up to five troops for free, outside normal allowances. Troops return to reserves. A revived leader can fight again, including in another territory. During battle, play Ghola prior to reveal.
Quantity: 1
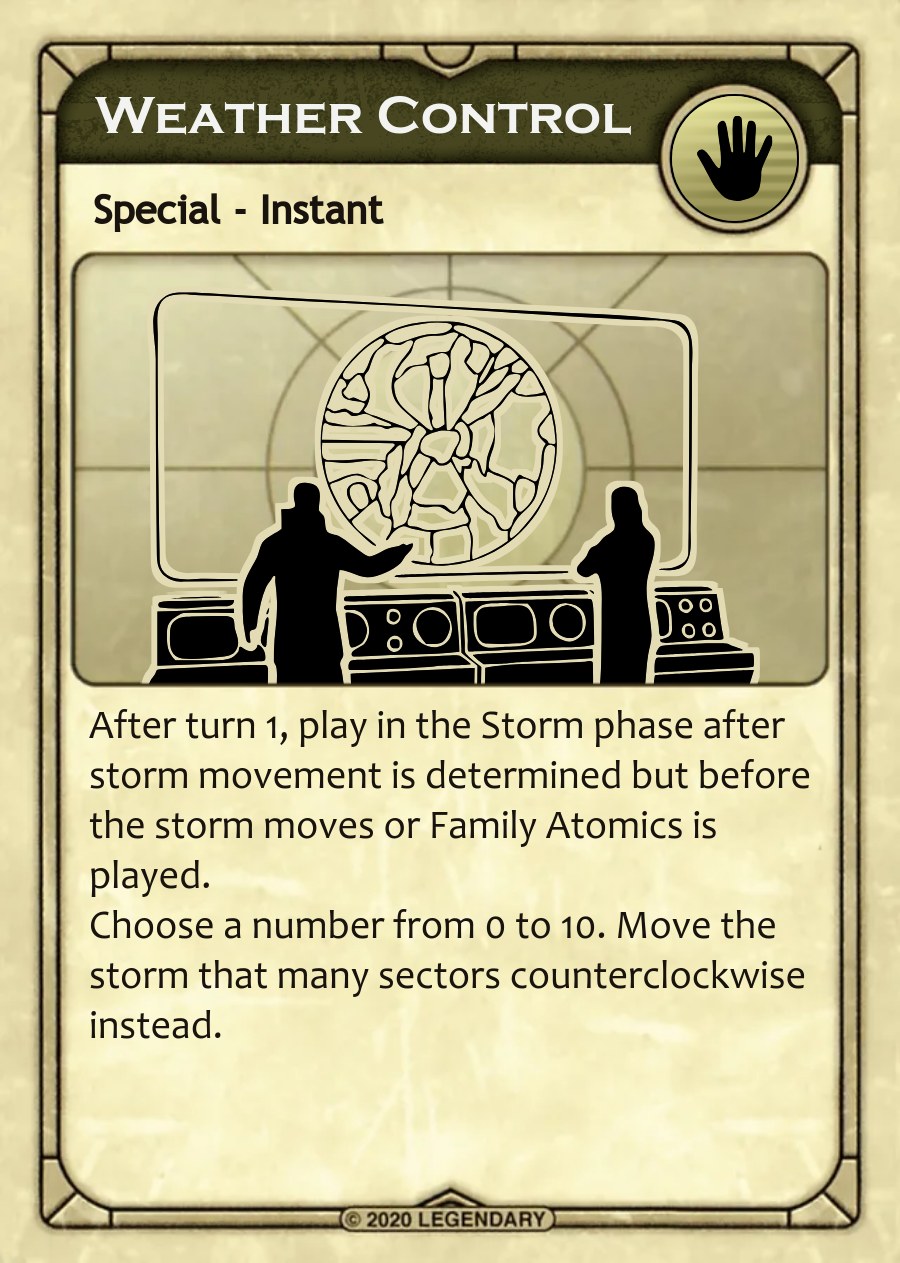
After turn one, play during Storm after the normal distance is known and before movement. Choose a counterclockwise movement of zero to ten sectors instead. Resolve this before Family Atomics.
Quantity: 1
After turn one, play before storm movement. With a troop on or adjacent to the target, destroy the Shield Wall or expose one sietch to storm. Only Shield Wall detonation kills its occupants. Then remove this card from the game.
Quantity: 1
Fills a weapon or defense slot with no effect. At the start of Bidding, give it to a player with hand space before or after the auction count is set. It does not activate Fate.

Strategy: your first game
Keep a presence in Arrakeen for mobility and income. Buy a useful weapon or defense, but leave enough spice to move troops and support a battle.
Track the cards bought at auction. Before using Battle Prescience, decide which answer would actually change your plan. Fight when that information gives you an advantage.
Do not sacrifice troops just to rush the Kwisatz Haderach. Surviving troops and Leto's Tithe can be worth more than gaining it early.


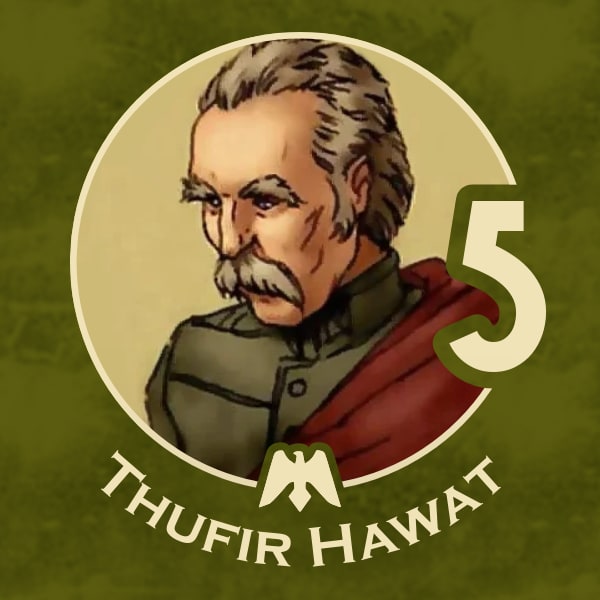


10 troops in Arrakeen and 10 in reserves. Start with 10 spice.
Free revival: 2 troops.
During Bidding, look at each Treachery Card as it comes up for bid. You may keep notes about these cards. Nexus Prescience lets you look at the top card of the Nexus Deck.
During battle, force your opponent to reveal one part of their plan early: weapon, defense, leader, or dial together with whether they are playing Mercenaries. Your ally may allow you to use this advantage in their battles.
After you have lost at least seven troops in battles, gain the Kwisatz Haderach. Play it with a leader in battles in one territory per turn. It adds two to the leader's strength and prevents that leader from being called traitor. A lasgun-shield explosion can kill the token; it can then be revived like a leader.
Before you gain the token, Leto's Tithe gives you two spice during Spice Collection if you control one stronghold, or three if you control at least two. Gaining the Kwisatz Haderach ends this income permanently.
Your Fate, Arrakis Fiefdom, may be played before Ship & Move. Gain the Carryall Tech Token, which you cannot lose. It triggers when a spice mine sends troops to reserves. You may also place a three-spice mine in a sand territory without a Spice Blow marker.

Strategy: your first game
Use Carthag's mobility and your larger hand to threaten several opponents. Buy cards early, while keeping spice for shipment and battle support.
Check your traitors before choosing a target. A small battle can clear poor cards from your hand, but count the leader and troop losses before committing.
Your hand is only useful if you can afford to act. Avoid spending all your spice at auction. Treat Spite as a way to recover value from a bad result, not a reason to seek one.





10 troops in Carthag and 10 in reserves. Start with 10 spice.
Free revival: 2 troops.
Keep all four Traitor Cards during setup. If you draw at least two of your own leaders, or at least three leaders from one faction, you may call a mulligan that makes everyone redraw.
You may hold eight Treachery Cards. During setup, and whenever you buy a card, take an extra card from the top of the deck for free.
After winning a battle, you may randomly capture one of the loser's leaders. Exclude leaders already used elsewhere this turn. Kill the captured leader face down for two spice, or keep them for one use in combat. Return a surviving leader after that use. Return all captured leaders if you have no living Harkonnen leaders. A faction can always call its own leader traitor when you play that leader against it.
If your leader dies in battle, Vladimir's Spite lets you swap played Treachery Cards between the battle participants. Resolve the normal discards and returns after the swap. The winner cannot immediately discard a card you gave them. Spite does not change the winner.
A dead Cheap Hero, a traitor result or successful Break Conditioning does not trigger Spite. Cheap Hero cards cannot be swapped. Supplies eligibility is disputed in current production and awaits council question #1840.
You may call traitor in your ally's battles. Your Fate, Blackmail, forces your own or your ally's opponent to reveal their full battle plan early.

Strategy: your first game
Use the first auction to build a useful hand, then establish a position you can afford to defend. Keep spice available for shipment and battle support.
Preserve your Sardaukar. They concentrate strength, but replace slowly and lose their advantage against Fremen. Avoid making Fremen your first target merely because it looks poor.
Look for an ally whose mobility, information or battle power gives your money a clear purpose. Fund a specific plan rather than paying whenever asked.
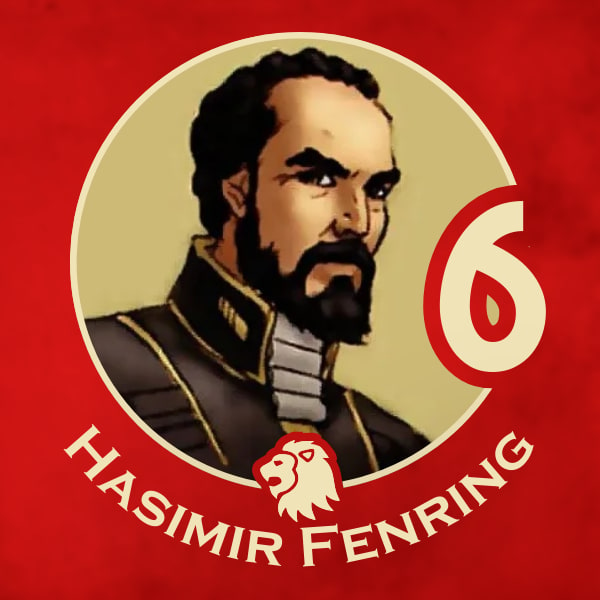
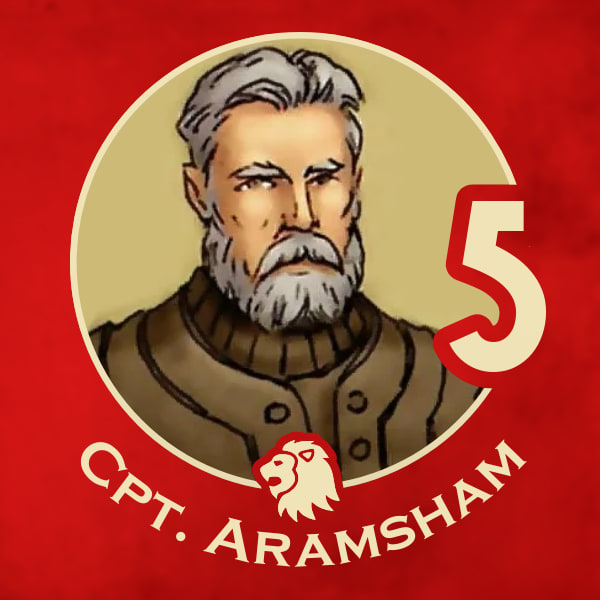
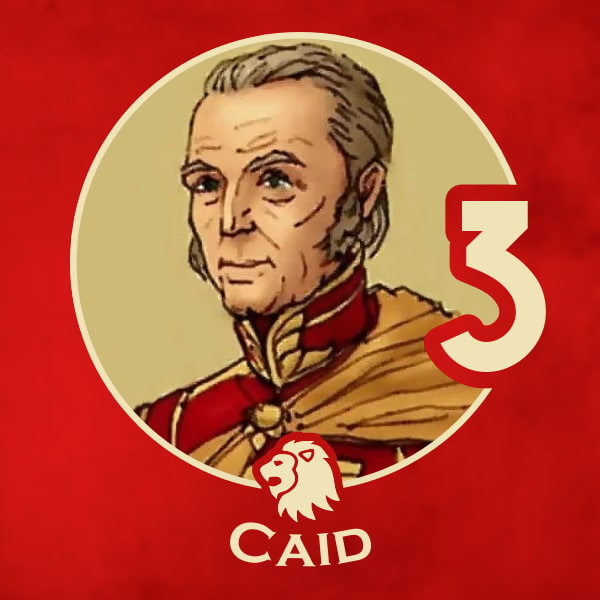

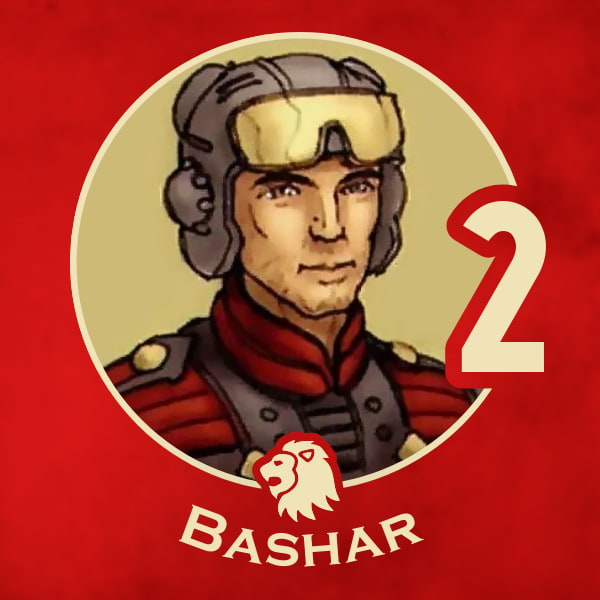
20 troops in reserves. Start with 10 spice.
Free revival: 1 troop.
When another faction buys a Treachery Card during Bidding, they pay the spice to you.
With Shaddam's Favor, place spice in front of your Player Shield to reduce another faction's bidding payment by that amount. Collect this spice at the end of Bidding. A faction may bid beyond its own available spice if you agree to cover the shortfall.
Your five starred troops are Sardaukar. Each has double the combat strength of a normal troop. Only one Sardaukar may be revived per turn. Against Fremen, treat Sardaukar as normal troops.
Your alliance advantage, Golden Lion Throne, lets you give spice to your ally instantly, at any time. This allows you to support payments such as revival and spice dialing that ordinary allies cannot pay directly for one another.
Your Fate, Prison Planet, revives up to five troops of any kind and any one leader at their normal cost. You may revive pieces for other players. The usual special-troop and leader limits do not apply to this revival, and Bene Tleilax does not collect income from it. You may play this Fate at any time except battle step 3.

Strategy: your first game
Keep Tuek's Sietch earning while shipment income builds your options. Use discounted shipping to stay within reach of several strongholds.
For your first few turns, acting late is a useful default: see where opponents commit before choosing your destination. Change that plan when acting earlier secures an important position.
Retreat costs spice and does not guarantee your leader survives. Keep a reserve instead of treating it as free insurance. You must pursue a victory; there is no Guild stallout win.

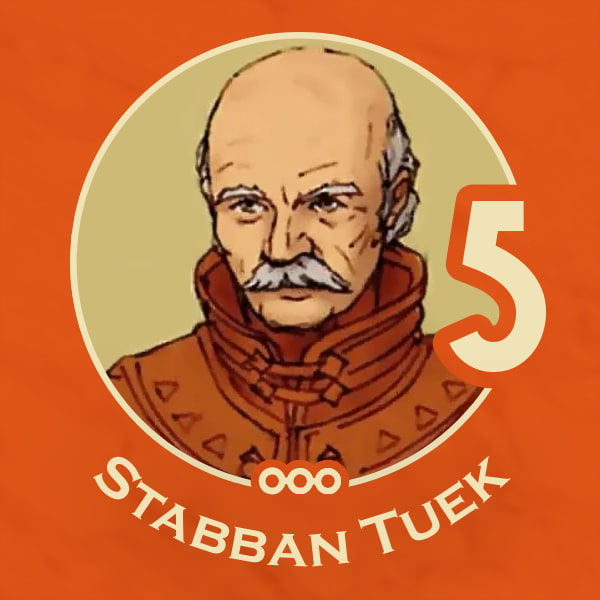



5 troops in Tuek's Sietch and 15 troops in reserves. Start with 5 spice.
Free revival: 1 troop.
Other factions pay their shipping spice to you. Your own shipments cost half the normal rate. You may ship from reserves to one territory, from one territory to another at the destination's rate, or from a territory to reserves at stronghold rates.
Once during shipment and movement, choose one interjection: take your turn first, last or between other factions; swap your position with another faction; or make another faction act now and take its position. The last two choices must occur before your normal position has passed.
After battle plans are revealed, Retreat may let you ship troops to reserves at stronghold rates. Pay spice equal to your leader's strength for each played Treachery Card you save. Your leader still dies if the opposing cards would kill them. Pay spice committed to battle and retreat costs to the bank. Both leaders remain committed to the territory.
The live sheet prohibits Retreat once a traitor or Break Conditioning has resolved the battle. The precise order and all resulting losses await questions #1839 and #1841.
Your ally may use Discount Shipping. You may also allow Three Types of Shipment, including for Fremen. You can reveal spice from behind your shield to pay for your ally's shipment without losing that spice.
Your Fate, Battle Training, permanently lets you play two leaders in each battle, including Cheap Heroes. Either can be called traitor, and both survive or die together. Use the lower-strength leader to price saved cards when retreating. Play the Fate before shipment and movement.

Strategy: your first game
Build a useful combat hand without chasing every auction. Storm immunity and worm rides let you approach positions others cannot. Keep troops ready for the next opening.
Use Fanatical Tactics to preserve valuable cards, and protect your Fedaykin. Your turn-ten threat gives you bargaining power, but another faction can still win sooner.



10 troops distributed on the board (see setup). 10 in reserves. Start with 3 spice.
Free revival: 3 troops.
If nobody wins by the end of turn ten, you win. Your ally shares this win only if you jointly control at least three strongholds.
Rally troops for free within two territories of the Great Flat. You cannot ship normally. Your troops move two territories and need no spice to fight at full strength. Your three Fedaykin have double strength; revive at most one per turn.
Your troops are immune to storm and may move into, through and out of it. You may choose to let them die in storm. Look at the top Storm card. The live sheet also permits inspection of both Spice Blow Decks; the deck structure is awaiting question #1837.
Shai-Hulud does not devour your troops. They may instead ride to any territory. If several worms appear, choose the locations of all after the first, including rock and stronghold territories from which your troops can ride.
Start with two Thumpers. After Spice Blow cards are revealed, spend at most one per turn to summon a riding worm to a sand or polar territory containing your troops. It eats spice but not troops. Treat it as the first worm of the phase when redirecting later worms.
With Fanatical Tactics, reveal a weapon, a defense or both in your battle plan early to retain it even if you lose. A traitor call against your leader or a lasgun-shield explosion still loses it. Spite may replace a protected card only with one of the same color. Supplies expiry is awaiting question #1842.
After all factions finish shipment and movement, Zensunni Path lets one faction, including yourself, make an on-planet move if it made none this phase. A Hajr move does not disqualify it.
Your ally puts spice used for spice dialing into their bribe pile instead of the bank, and their troops are safe from worms.
Your Fate, Planetology, lets you add or subtract one from the revealed Storm card, starting in the Storm Phase when you play it and continuing each turn.

Strategy: your first game
Spread advisors through accompanying shipments. Before turning them into fighters, decide what each group can achieve.
Use The Voice to protect your leader or remove an opponent's defense. Your troops revive slowly, so choose battles carefully. Pursue Prediction while building a position that can also win through strongholds.





1 in an unoccupied territory, 1 in the polar sink, 18 troops in reserves. 5 spice.
Free revival: 1 troop.
Secretly predict a faction and turn during setup. If it wins on that turn, you win instead. Prediction excludes Fremen's special victory.
You always receive CHOAM Charity. You may use worthless cards as Karamas to stop a faction advantage, ship at half price while paying the bank, or buy a Treachery Card without paying.
Before battle plans are completed, The Voice can require or forbid a Treachery Card category, such as a projectile weapon, poison defense, worthless card or Mercenaries. Name special cards such as Lasgun or Weirding Way specifically. You cannot Voice Cheap Heroes. An opponent who lacks a required card silently ignores the instruction. You may also use The Voice in your ally's battles.
Fighters act as normal troops. Advisors can move and coexist with enemies or allies, but do not fight, count toward occupancy limits or control territory for ornithopters or victory. Each territory has one posture for your troops. Advisors entering a territory with your fighters become fighters.
When another faction moves into your territory, you may flip fighters to advisors. Reinforcement of a faction already there does not permit this.
At the beginning of shipment and movement, you may flip groups of advisors to fighters. A group with no other faction present flips automatically. This is the only window when an advisor territory becomes a fighter territory. You may ship either posture.
When another faction ships from off planet, place an advisor at its destination if you have no fighters there, or a fighter in the Polar Sink.
Your Fate, Political Marriages, lets you use The Voice on one side in any or all battles where you have advisors that turn. Play it at the Voice window. Karama cannot stop this Voice.

Strategy: your first game
Watch the Tanks and your Face Dancer cards before spending on expansion. Revival income and an available infiltration target can change which opponent you want to pressure.
Keep enough of your own leaders available for battles. Committing them to Infiltration has a cost even when the information is valuable.
Use Synthetic Spice to fund a shipment with a purpose. Killing reserves to land a troop that cannot achieve anything leaves you paying to rebuild. Check your deal restrictions before offering terms another faction could normally accept.

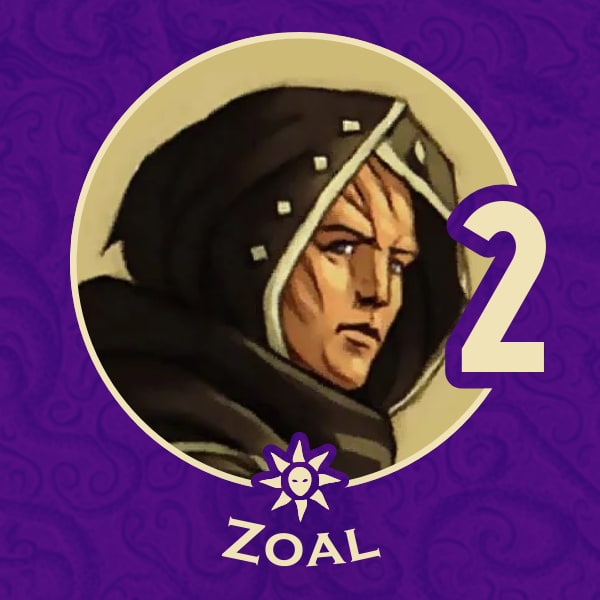



20 troops in reserves. Start with 10 spice.
Free revival: 0 troops.
Dishonorable prevents you from giving or receiving bribes outside Mentat and from making binding deals, except buying information about cards up for bid. The live sheet also prohibits binding disclosure such as showing cards to other players. The special Mentat commitment to end Infiltration is described on the next page.
Collect one spice whenever a non-Tleilaxu troop is revived. Collect all spice paid for non-Tleilaxu leader revival. You may set the revival price of one leader per faction per turn, increase a faction's troop-revival limit from three to five, and inspect face-down leaders in the Tanks.
Your own revival has no limit. Pay half price, rounded up, except for your face-down leaders, who cost full price. Your ally shares these prices. Round each leader separately and round a group of revived troops after totaling its cost.
When shipping, you may kill troops in reserves to generate one spice per troop from the bank toward the shipment. This is Synthetic Spice.
Your Fate, Stone Burner, prevents all troops in one territory from being spice dialed for the rest of the phase, including Fremen. Play it during battle before step 3.
During setup, receive five cards from other factions' unchosen traitors. Choose one as your traitor; the other four become Face Dancer Cards. Follow the dealing order in Set up the factions.
During Storm, you may revive a dead enemy leader matching a Face Dancer Card as a spy. Return that leader to its original faction. Commit one of your own leaders on top of the matching card as the impersonator. You cannot use your committed leader in battle.
The target may immediately call your committed leader traitor to prevent the Infiltration. That committed leader's traitor identity also applies to the revived spy, including your ability to call your own leader traitor.
While the revived leader lives and you retain its Face Dancer Card, you may inspect the infiltrated faction's spice and Treachery Cards at any time. Inspect its battle plan at the Infiltration window during commitment.
During Mentat, you may discard face down and redraw one Face Dancer Card. You may make a binding promise to reshuffle a specific Face Dancer then.
When an Infiltration ends, immediately draw a replacement Face Dancer so you again hold four. Put both the revived leader and your committed leader face down in the Tanks.
If Zoal is revealed in your plan, survives, and the enemy leader dies, you may choose Infiltration instead of the ordinary battle result. A traitor call can trigger this ability.
The opponent wins and loses nothing. You may keep your played Treachery Cards, return all your troops in the territory to reserves for free, and keep spice committed to the dial.
Set aside Zoal and the killed leader until next turn's Storm Phase. Then place the target leader in front of its faction's shield and Zoal among that faction's leaders. Zoal counts as the target leader in battle. Either Zoal or the target leader can be called traitor. Otherwise apply the ordinary Infiltration rules.
The live sheet says you share an infiltrated faction's victory in place of its ally, unless that alliance controls at least five strongholds. Cases involving two infiltrated allies and competing predictions need an explicit winner table. Questions #1847 and #1849 track those rulings.

Strategy: your first game
Keep Cyborgs and Suboids together when their combined movement and casualty options help. Avoid spending Cyborgs in fights that cheaper troops could handle.
Use your auction knowledge to improve your hand. Before exchanging a card through Technology, decide which missing weapon or defense matters most.
Plan the Surveyor's Mentat route before exposing troops outside it. Its shelter helps preserve an army, but troops aboard do not hold the surrounding territory. You still need troops outside it to claim strongholds.





3 Cyborgs & 3 Suboids in the HMS. 6 Cyborgs and 8 Suboids in Reserves. 10 spice.
Free revival: 1 troop, either Suboid or Cyborg.
Look at the initial Treachery Cards before they are dealt. At the start of Bidding, inspect the offered batch. You may divide it into two piles as evenly as possible and choose which pile is auctioned first.
Once per Bidding Phase, before the first bid on a card, Technology lets you replace it with a card from your hand. If you did not split the batch into piles, Atreides may not inspect the card you obtain.
Your nine Cyborgs have double combat strength, move two territories, collect three spice each and cost three spice to revive. Karama cannot affect Cyborgs.
Your eleven Suboids always fight at half strength and cannot be spice dialed. They cost one spice to revive and may move two territories when accompanied by a Cyborg.
If you win after dialing Cyborgs, undialed Suboids can die in their place. Those Cyborgs flip to their patched side. In a later battle, a patched Cyborg can be dialed once without dying and then flips back.
Once per turn, you and your ally may swap or transfer one Treachery Card. During battle, use the pre-plan exchange window.
Your Fate, Defect, prevents a special card from being used for the whole turn. Play it in advance or when a faction attempts to use that card, returning it to their hand. To stop Mercenaries or a special weapon or defense, act before battle plans are made. You cannot play Defect during battle step 3.
Reserves are your troops available to enter play. The Tleilaxu Tanks hold dead troops and leaders awaiting revival. Returning to reserves is not the same as dying.
A territory is a named area of the map. A sector is a radial slice used for storm position and spice collection. One territory can span several sectors. Count territories for ordinary movement distance, and state the sector where troops finish.
Troops occupy the territory where they stand. Control matters for stronghold victory and some faction advantages. Bene Gesserit advisors can coexist in a territory without granting control, collection or ornithopters.
Start with the player marker the storm next approaches counterclockwise, then continue around the table. Abilities such as Guild interjection can change the order of a particular phase.
Dial, troop strength, spice support and leader commitment are explained together on the following glossary page.
Treachery Cards form your playable hand. A Traitor card identifies a leader you may betray. A Fate Indicator identifies the worthless card that activates your faction power.
The phase after Storm. Draw from its deck; a number below the turn allows alliances to change. Return and reshuffle the card. Worms do not trigger Nexus.
Spice waiting outside your supply until Mentat. You may pass it onward as a bribe but cannot spend it normally before collection.
A surviving leader used in battle is normally restricted to that territory for the Battle phase. A killed leader goes to the Tanks; if revived with Ghola, it can fight again. An ordinary traitor result does not commit leaders.
Bene Tleilax returns an enemy leader as a spy, gaining information and a possible shared victory. Face Dancer cards and Zoal establish it differently.
A tech token earns income when its event occurs. A spice mine is a persistent location with a fixed yield each turn.
One troop token. Its battle strength depends on its type and support. Count tokens separately from strength.
The troop strength committed on the battle wheel. Add surviving leader strength and permitted bonuses when resolving the battle.
Spice spent to raise a troop from its unsupported strength to its supported strength. Ordinary troops cost 1 spice each to support.
The dial plus the surviving leader's strength and any permitted bonuses. Use this total to determine an ordinary winner.
A troop counted toward the battle dial. In an ordinary victory, take losses matching the dial and support spice. In an ordinary defeat, all troops in the territory die.
A surviving leader used in battle is normally restricted to that territory for the Battle phase. A killed leader goes to the Tanks; if revived with Ghola, it can fight again. An ordinary traitor result does not commit leaders.
The player currently resolving battles in storm order. The aggressor chooses the next battle and normally wins ties.
This book brings the current Dreamrules rules into one illustrated guide. It includes the eight finished factions, the revised card deck and the confirmed rulings used by the Dreamrules group. Iduali, Moritani and Ecaz remain playtest factions and are outside this ruleset.
Quickstart v0.8 is the starting point. Later confirmed Dreamrules rulings take precedence. Current faction sheets supply faction-specific details. GF9 supplies unchanged base rules. The original JSX rulebook informs the explanations, but its older phase sequence and experimental rules are not current authority.
Truthtrance pauses game actions until its question is answered. Karama suppresses the named advantage for the full phase. A killed leader revived with Ghola can fight again; play Ghola before reveal. Allied troops may share a destination only for the immediate shipment-and-movement exception described in that chapter.
Some sources disagree or leave an interaction incomplete. Those cases remain marked with their own council issue. A provisional answer is not a confirmed rule. The following page groups the open questions so a table can identify them before play.
Resolve the Spice deck preparation and draw-pile questions first. If relevant to your table, also check the Bene Tleilax setup outside six players and the turn-ten ending without Fremen. Agree any temporary table ruling openly; it does not settle the Dreamrules council question.
The council index is github.com/ndelangen/dunezone/issues/1831. Each numbered question there has its own link, source evidence and eventual ruling. FAQ explanations belong in the ruleset rather than in this book.
The ordinary rule remains usable where it is clear. A note identifies the unresolved boundary; it does not grant permission to invent an exception. Update the affected chapter and examples together when a ruling is confirmed.
#1837: Spice draw decks and discard piles.
#1838: Worm count and prepared setup.
#1859: Mine replenishment timing.
#1860: Bene Tleilax setup at other player counts.
#1835: Infiltration timing during Storm.
#1839: Retreat and Break Conditioning order.
#1840: Spite exchanges involving Supplies.
#1841: Special battle aftermath.
#1842: Fanatical Tactics exceptions.
#1852: Karama interaction review.
#1862: Reconstructed Treachery deck inventory.
#1844: New tech tokens after exceptional battles.
#1845: Carryall in token and victory counts.
#1847: Overlapping victory conditions.
#1848: Turn-ten ending without Fremen.
#1849: Infiltrated winning alliances.
#1861: Water Stealing and Fremen.
#1850: Written records of public deals.
#1851: Truthtrance and existing deals.
Each number refers to a separate issue in the council index on the previous page. These entries record uncertainty; they are not additional rules or FAQ answers.
Dreamrules grew around a table. Its designers brought ideas, but it took players willing to try them, challenge them and play another game to find out what worked.
Thank you to everyone who tested a faction, questioned an interaction, caught an unclear sentence or explained the game to someone new. Those contributions shape both the rules and the experience of playing them.
The names above come from the original Dreamrules manuscript. Our thanks also go to the wider community of players whose games and discussions continue to improve Dreamrules.
We are grateful to Dune's original designers, Bill Eberle, Jack Kittredge and Peter Olotka, and to Gale Force Nine for bringing the game to new tables.
And thank you for playing. We hope the next game gives your table something worth talking about.